Restaurant-Style Shrimp Scampi Linguine

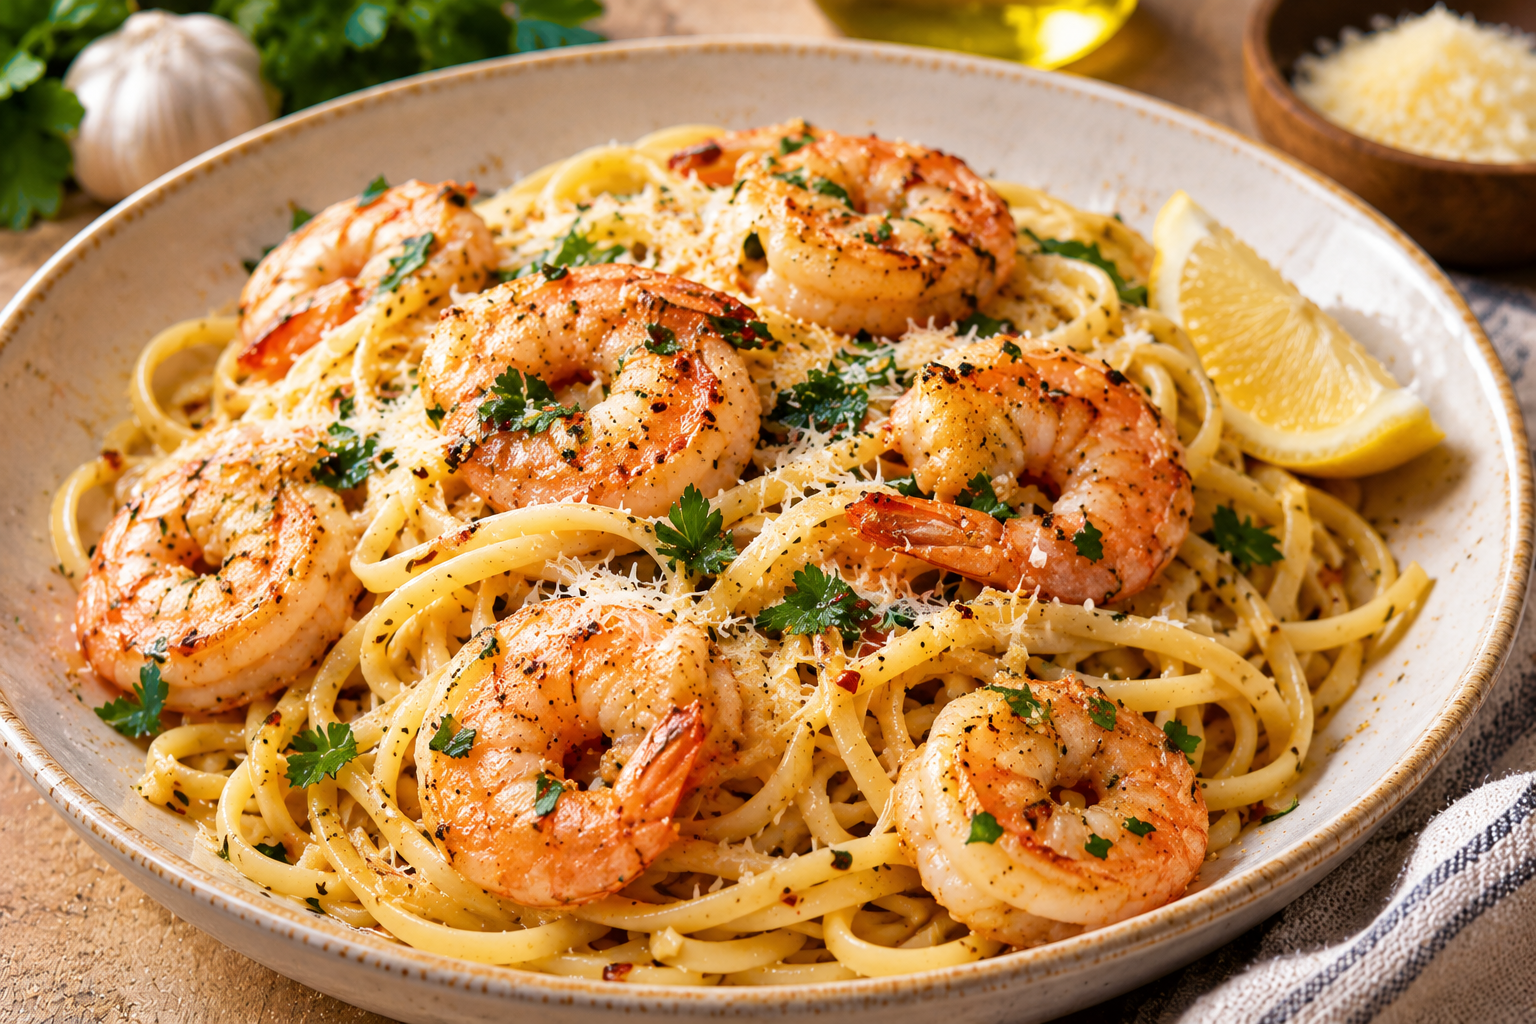
Tender shrimp and linguine tossed in a glossy garlic-butter, lemon, and white-wine sauce with parsley and Parmesan.
Restaurant-Style Shrimp Scampi Linguine
Tender shrimp and linguine tossed in a glossy garlic-butter, lemon, and white-wine sauce with parsley and Parmesan. Restaurant-style shrimp scampi linguine pairs tender shrimp with a glossy garlic-butter, olive oil, lemon, and white-wine sauce. The technique is quick, but timing matters: shrimp cook in minutes, garlic can burn quickly, and starchy pasta water helps the sauce cling to the linguine. Cooking shrimp separately and returning them at the end keeps them tender while the sauce comes together in the same skillet.
Prep time: 15 minutes | Cook time: 15 minutes | Total time: about 30 minutes | Servings: 4 | Difficulty: Easy
Introduction
Restaurant-style shrimp scampi linguine pairs tender shrimp with a glossy garlic-butter, olive oil, lemon, and white-wine sauce. The technique is quick, but timing matters: shrimp cook in minutes, garlic can burn quickly, and starchy pasta water helps the sauce cling to the linguine. Cooking shrimp separately and returning them at the end keeps them tender while the sauce comes together in the same skillet.
For the smoothest cooking experience, read the full method first and measure the ingredients before turning on the stove or oven. Chop the vegetables, prepare the herbs, and keep ingredients used at different stages in separate bowls. This is particularly useful when the recipe moves quickly from browning to simmering, or when a delicate ingredient such as pasta, seafood, dairy, or fresh herbs is added near the end.
The quantities below come directly from the approved Better Home Recipes recipe record. Use them as written for the stated yield. Ingredient brands, pan sizes, and stove temperatures can vary, so follow the visual cues alongside the cooking times. Those cues help you judge when vegetables are softened, pasta is tender, sauce has thickened, or cheese has melted properly.
Why You'll Enjoy This Recipe
Tender shrimp and linguine tossed in a glossy garlic-butter, lemon, and white-wine sauce with parsley and Parmesan. Restaurant-style shrimp scampi linguine pairs tender shrimp with a glossy garlic-butter, olive oil, lemon, and white-wine sauce. The technique is quick, but timing matters: shrimp cook in minutes, garlic can burn quickly, and starchy pasta water helps the sauce cling to the linguine. Cooking shrimp separately and returning them at the end keeps them tender while the sauce comes together in the same skillet.
This recipe makes 4 servings and is designed for an ordinary home kitchen. If you need to feed more people, use a pan or pot with enough room rather than crowding the ingredients into a small vessel. Crowding can trap steam, reduce browning, and make it harder to control liquid. When scaling down, begin checking earlier because smaller quantities may cook faster. Keep the main ingredient and liquid proportions balanced, and make final seasoning adjustments only after the dish has come together.
Another advantage is that the method separates preparation from finishing. Aromatics and main ingredients are cooked first, while delicate components are added at the point where they keep their best texture. Following that order is more reliable than adding everything at once. It also makes the recipe easier to repeat: once you recognize the color, aroma, and consistency at each stage, you can make small adjustments confidently without changing the approved ingredient list.
Ingredients You'll Need
Large peeled and deveined shrimp are easy to eat in the finished pasta. Linguine gives the sauce plenty of surface area. Olive oil helps sear the shrimp, butter builds richness, garlic provides the signature aroma, and red pepper flakes add optional warmth. Dry white wine adds acidity, or low-sodium broth can be used. Lemon juice and zest brighten the sauce; parsley and optional Parmesan finish it.
- 12 oz (340 g) linguine
- 1 lb (450 g) large shrimp, peeled and deveined, tails on or off
- ¾ tsp kosher salt, divided
- ¼ tsp black pepper
- ½ tsp paprika, optional
- 2 tbsp olive oil, divided
- 4 tbsp unsalted butter, divided
- 5 garlic cloves, finely minced
- ¼ tsp crushed red pepper flakes, or to taste
- ½ cup (120 ml) dry white wine or low-sodium chicken broth
- 2 tbsp fresh lemon juice
- 1 tsp finely grated lemon zest
- ½ cup (120 ml) reserved pasta water, as needed
- ¼ cup chopped fresh parsley
- ¼ cup (25 g) finely grated Parmesan, optional
- Lemon wedges, to serve
Measure everything before starting and pay attention to ingredients marked optional or divided. Optional ingredients can be left out without changing the basic method. Divided ingredients should be used at the stages indicated in the directions rather than added all at once. For best results, use the listed quantities for the first batch; once you know how your preferred brands and cookware behave, you can adjust small finishing details to taste.
Equipment
Prepare the following equipment: Large pasta pot; colander; large wide skillet; tongs; microplane or fine grater; citrus juicer; measuring cups and spoons. Total time: about 30 minutes (15 minutes prep + 15 minutes cooking). You should also have a stable cutting board, a sharp knife, measuring cups and spoons, and a heatproof spoon or spatula. Arrange the equipment before heating the pan so you do not need to search for a utensil while ingredients are cooking.
Choose cookware large enough to hold the ingredients without crowding. A heavy pot or skillet helps maintain steady heat, while a properly sized baking dish helps the food heat evenly in the oven. Use dry oven mitts for hot cookware, turn pan handles inward, and keep raw meat or seafood utensils separate from ready-to-eat garnishes. Wash hands, boards, and knives after handling raw proteins.
How to Make Restaurant-Style Shrimp Scampi Linguine
Cook linguine until just al dente and reserve at least half a cup of pasta water. Pat shrimp very dry, season, and sear in a single layer until just opaque. Remove them. Lower the heat before adding garlic and red pepper flakes. Simmer wine or broth briefly, add lemon, toss in linguine, and add pasta water a little at a time until glossy. Return shrimp with their juices, finish with butter and parsley, and serve immediately.
Bring a large pot of salted water to a boil. Cook linguine until just al dente according to package directions. Before draining, reserve at least ½ cup pasta water.
At this point, check the texture and heat before moving forward. The purpose of this stage is to build flavor while preserving the texture of the main ingredient. Keep the pan at the level described, stir or turn only as needed, and use the visual cue in the instruction as the final guide. If the food is coloring too quickly, lower the heat rather than rushing it; if it needs a little longer, allow that time before adding the next ingredient.
Pat shrimp very dry. Season with ½ teaspoon salt, black pepper, and paprika if using.
At this point, check the texture and heat before moving forward. The purpose of this stage is to build flavor while preserving the texture of the main ingredient. Keep the pan at the level described, stir or turn only as needed, and use the visual cue in the instruction as the final guide. If the food is coloring too quickly, lower the heat rather than rushing it; if it needs a little longer, allow that time before adding the next ingredient.
Heat 1 tablespoon olive oil and 1 tablespoon butter in a large skillet over medium-high heat. Add shrimp in one layer and cook 1–2 minutes per side, just until opaque and pink. Transfer to a plate; avoid overcooking.
At this point, check the texture and heat before moving forward. The purpose of this stage is to build flavor while preserving the texture of the main ingredient. Keep the pan at the level described, stir or turn only as needed, and use the visual cue in the instruction as the final guide. If the food is coloring too quickly, lower the heat rather than rushing it; if it needs a little longer, allow that time before adding the next ingredient.
Reduce heat to medium. Add remaining olive oil and 2 tablespoons butter. Stir in garlic and red pepper flakes and cook for 30–45 seconds until fragrant, without browning the garlic.
At this point, check the texture and heat before moving forward. The purpose of this stage is to build flavor while preserving the texture of the main ingredient. Keep the pan at the level described, stir or turn only as needed, and use the visual cue in the instruction as the final guide. If the food is coloring too quickly, lower the heat rather than rushing it; if it needs a little longer, allow that time before adding the next ingredient.
Pour in wine or broth and simmer for 2–3 minutes, scraping up browned bits, until slightly reduced. Stir in lemon juice, lemon zest, and remaining ¼ teaspoon salt.
At this point, check the texture and heat before moving forward. The purpose of this stage is to build flavor while preserving the texture of the main ingredient. Keep the pan at the level described, stir or turn only as needed, and use the visual cue in the instruction as the final guide. If the food is coloring too quickly, lower the heat rather than rushing it; if it needs a little longer, allow that time before adding the next ingredient.
Add drained linguine and toss with the sauce. Add reserved pasta water a few tablespoons at a time until the butter sauce lightly coats the noodles.
At this point, check the texture and heat before moving forward. The purpose of this stage is to build flavor while preserving the texture of the main ingredient. Keep the pan at the level described, stir or turn only as needed, and use the visual cue in the instruction as the final guide. If the food is coloring too quickly, lower the heat rather than rushing it; if it needs a little longer, allow that time before adding the next ingredient.
Return shrimp and any accumulated juices to the skillet. Add remaining 1 tablespoon butter and parsley; toss gently for about 1 minute until shrimp are warmed through and the sauce looks glossy.
At this point, check the texture and heat before moving forward. The purpose of this stage is to build flavor while preserving the texture of the main ingredient. Keep the pan at the level described, stir or turn only as needed, and use the visual cue in the instruction as the final guide. If the food is coloring too quickly, lower the heat rather than rushing it; if it needs a little longer, allow that time before adding the next ingredient.
Remove from heat. Add Parmesan if desired, taste, and adjust lemon, pepper, or salt. Serve immediately with lemon wedges.
At this point, check the texture and heat before moving forward. The purpose of this stage is to build flavor while preserving the texture of the main ingredient. Keep the pan at the level described, stir or turn only as needed, and use the visual cue in the instruction as the final guide. If the food is coloring too quickly, lower the heat rather than rushing it; if it needs a little longer, allow that time before adding the next ingredient.
Once the cooking is complete, follow the final resting or serving direction instead of immediately cutting, stirring, or transferring the food. Resting allows sauces to settle, gives baked layers time to hold together, and makes hot dishes easier to portion. If the recipe is best served immediately, have plates and sides ready before the final step so the food reaches the table at its intended texture.
Tips and Troubleshooting
Do not crowd the skillet; cook shrimp in batches if necessary. Opaque pink flesh and a gentle curl indicate doneness; tight curls usually mean overcooking. Keep garlic pale and fragrant, not brown. Add pasta water gradually because the amount needed depends on how much liquid remains. Serve as soon as shrimp are warmed through.
Season in stages rather than adding all the salt at the beginning. Broth, cheese, sausage, cured meats, and prepared sauces vary in saltiness, so taste after the main ingredients have cooked together. If a sauce or mixture is thicker than expected, add a small amount of suitable liquid and stir before adding more. If it is too loose, allow gentle cooking time for excess moisture to evaporate rather than immediately adding a thickener that is not part of the recipe.
Use an instant-read thermometer whenever the recipe includes poultry or meat and the safe doneness is not obvious from appearance. Keep raw ingredients separate from ready-to-eat foods, refrigerate perishables promptly, and clean as you go. Small, measured adjustments are more effective than trying to correct seasoning or texture all at once at the end.
Easy Variations
Spaghetti or fettuccine can replace linguine. Chicken broth replaces wine, though the flavor is less wine-forward. Add baby spinach at the end or simmer halved cherry tomatoes briefly in the sauce. Parmesan is optional; lemon, parsley, and butter are enough for a bright finish.
For a dependable first attempt, change one ingredient at a time. Swapping several ingredients together can affect salt, moisture, acidity, and cooking time, making it difficult to understand why the final result changed. Keep the core proportions and cooking sequence intact when testing a variation. If you use a substitute with a different moisture level, drain it well or adjust the cooking time carefully rather than automatically changing every other quantity.
What to Serve With It
Serve immediately with lemon wedges, green salad, roasted asparagus, green beans, or warm bread for the garlic-butter sauce. Keep sides simple so the shrimp and lemon remain the focus.
Think about contrast when planning the rest of the meal. Rich or creamy dishes benefit from crisp vegetables or a salad with a little acidity. Tomato-based recipes pair naturally with fresh greens and bread, while seafood pasta is complemented by simply cooked vegetables. For cookies, coffee, tea, or fresh fruit is often enough. Choose sides that do not compete for the same oven or stovetop space during the final cooking stage.
Make-Ahead, Storage, and Reheating
Refrigerate leftovers in an airtight container for up to 2 days. Reheat gently in a skillet over low heat with 1–2 tablespoons water or broth just until warm; avoid high heat, which toughens shrimp. Microwave at 50% power in short intervals. This dish is best freshly made and is not recommended for freezing.
Refrigerate perishable leftovers promptly in shallow, covered containers rather than leaving the serving dish on the counter for an extended period. Reheat only the portion you plan to eat. If the food has thickened during refrigeration, add a small splash of an appropriate liquid and warm gently, stirring as needed. When the recipe contains seafood, dairy, or cooked meat, follow the shorter storage window in the recipe notes. If freezing is not recommended, respect that guidance because delicate sauces and pasta textures may separate or soften after thawing.
Frequently Asked Questions
Can I use frozen shrimp?
Yes, thaw completely and pat dry.\nWhat replaces wine? Low-sodium chicken broth works.\nHow do I avoid rubbery shrimp? Cook briefly, remove from the pan, and return only to warm at the end.\nCan I prepare it ahead? Prep garlic, parsley, lemon, and measured ingredients, but cook just before serving.
Closing Notes
Restaurant-style shrimp scampi linguine pairs tender shrimp with a glossy garlic-butter, olive oil, lemon, and white-wine sauce. The technique is quick, but timing matters: shrimp cook in minutes, garlic can burn quickly, and starchy pasta water helps the sauce cling to the linguine. Cooking shrimp separately and returning them at the end keeps them tender while the sauce comes together in the same skillet.
For the best result, prepare the ingredients before you start, follow the cooking order, and use the texture cues in each step. Save this restaurant-style shrimp scampi linguine recipe for the next time you want a dependable homemade dish with clear quantities and a method written for a regular home kitchen.
Ready to make something?
Turn inspiration into dinner.
Browse our tested recipes for practical step-by-step ideas, weeknight favorites and something delicious to try next.
Find your next recipe →Helpful Tools for This Recipe
Disclosure: Affiliate disclosure: This post contains affiliate links. As an Amazon Associate I earn from qualifying purchases at no extra cost to you.
 (paid link)
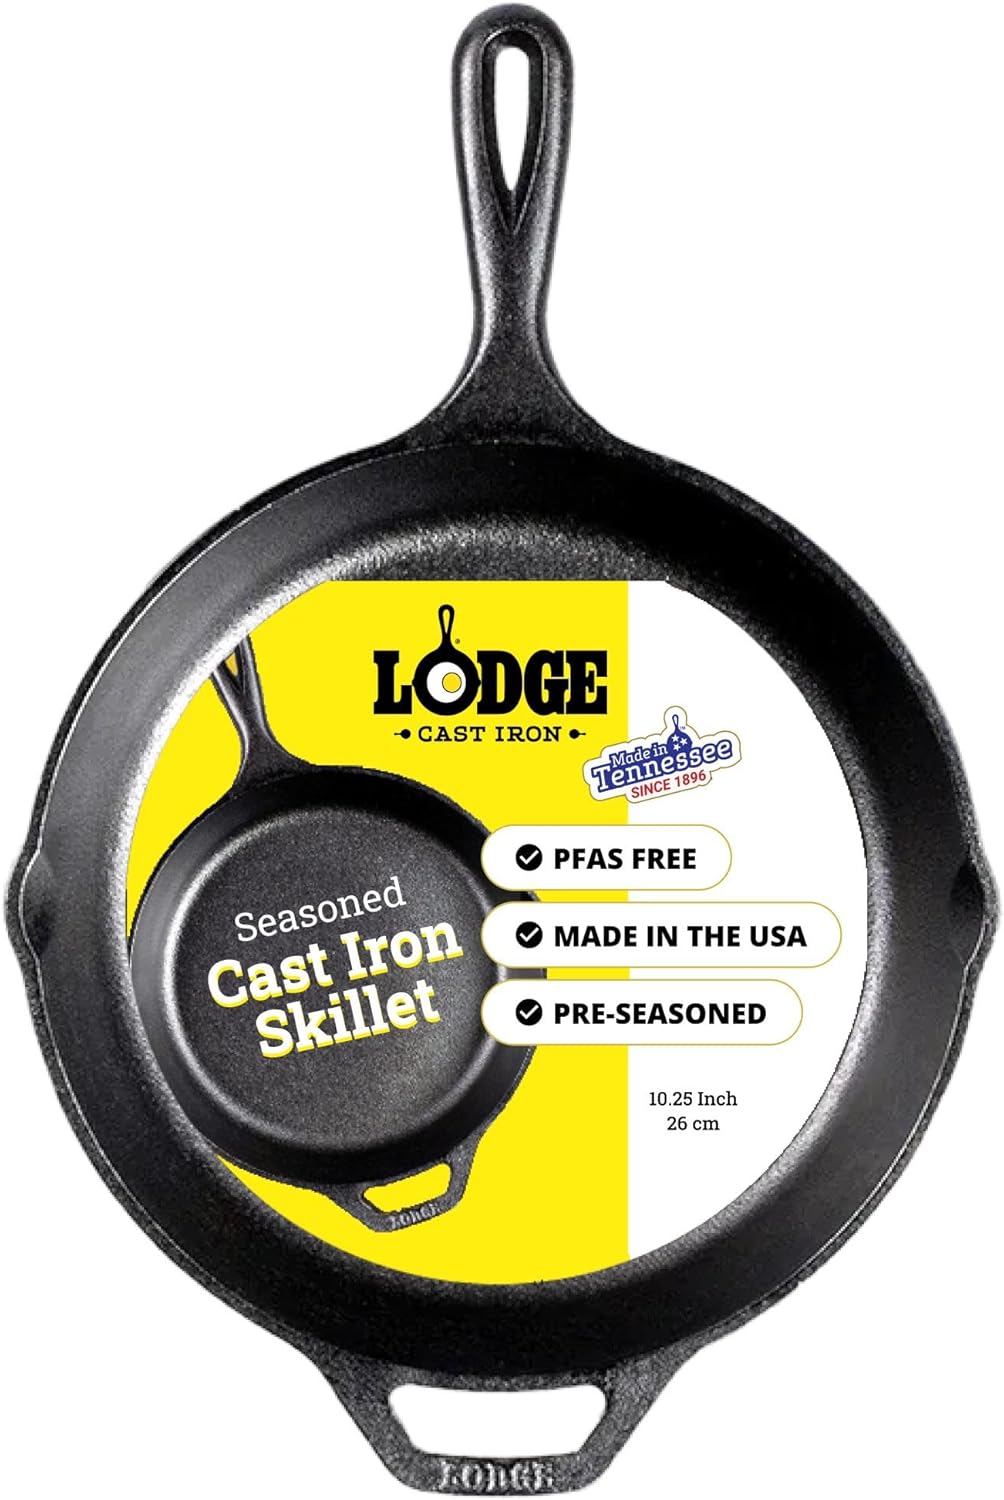
Pre-Seasoned Cast Iron Skillet (10.25-inch)
Provides exceptional heat retention and unbeatable browning for chicken, steaks, and skillet pastas.
 (paid link)
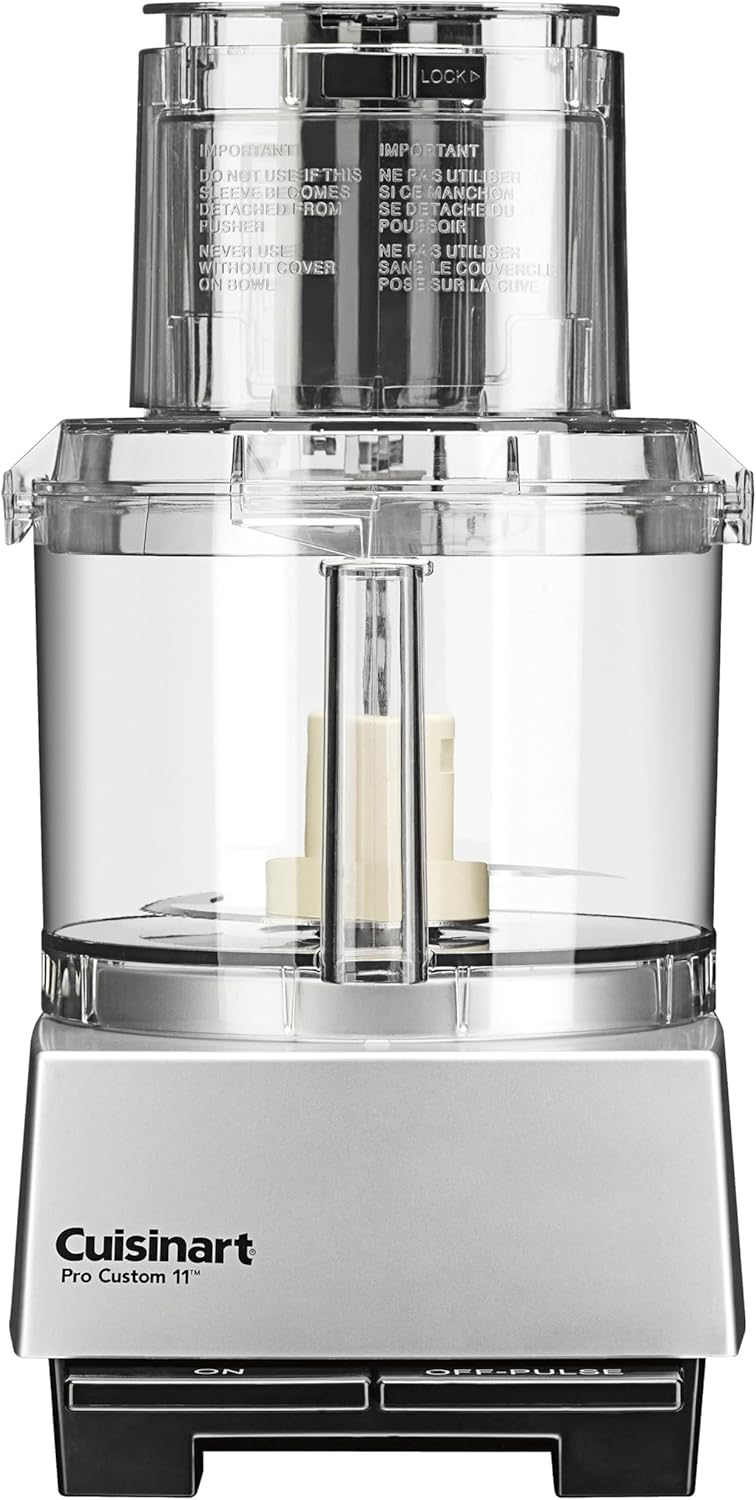
Food Processor (11-Cup)
Blitzes dips, slaws, dressings, and pastry doughs in seconds for snacks and appetizer recipes.
 (paid link)
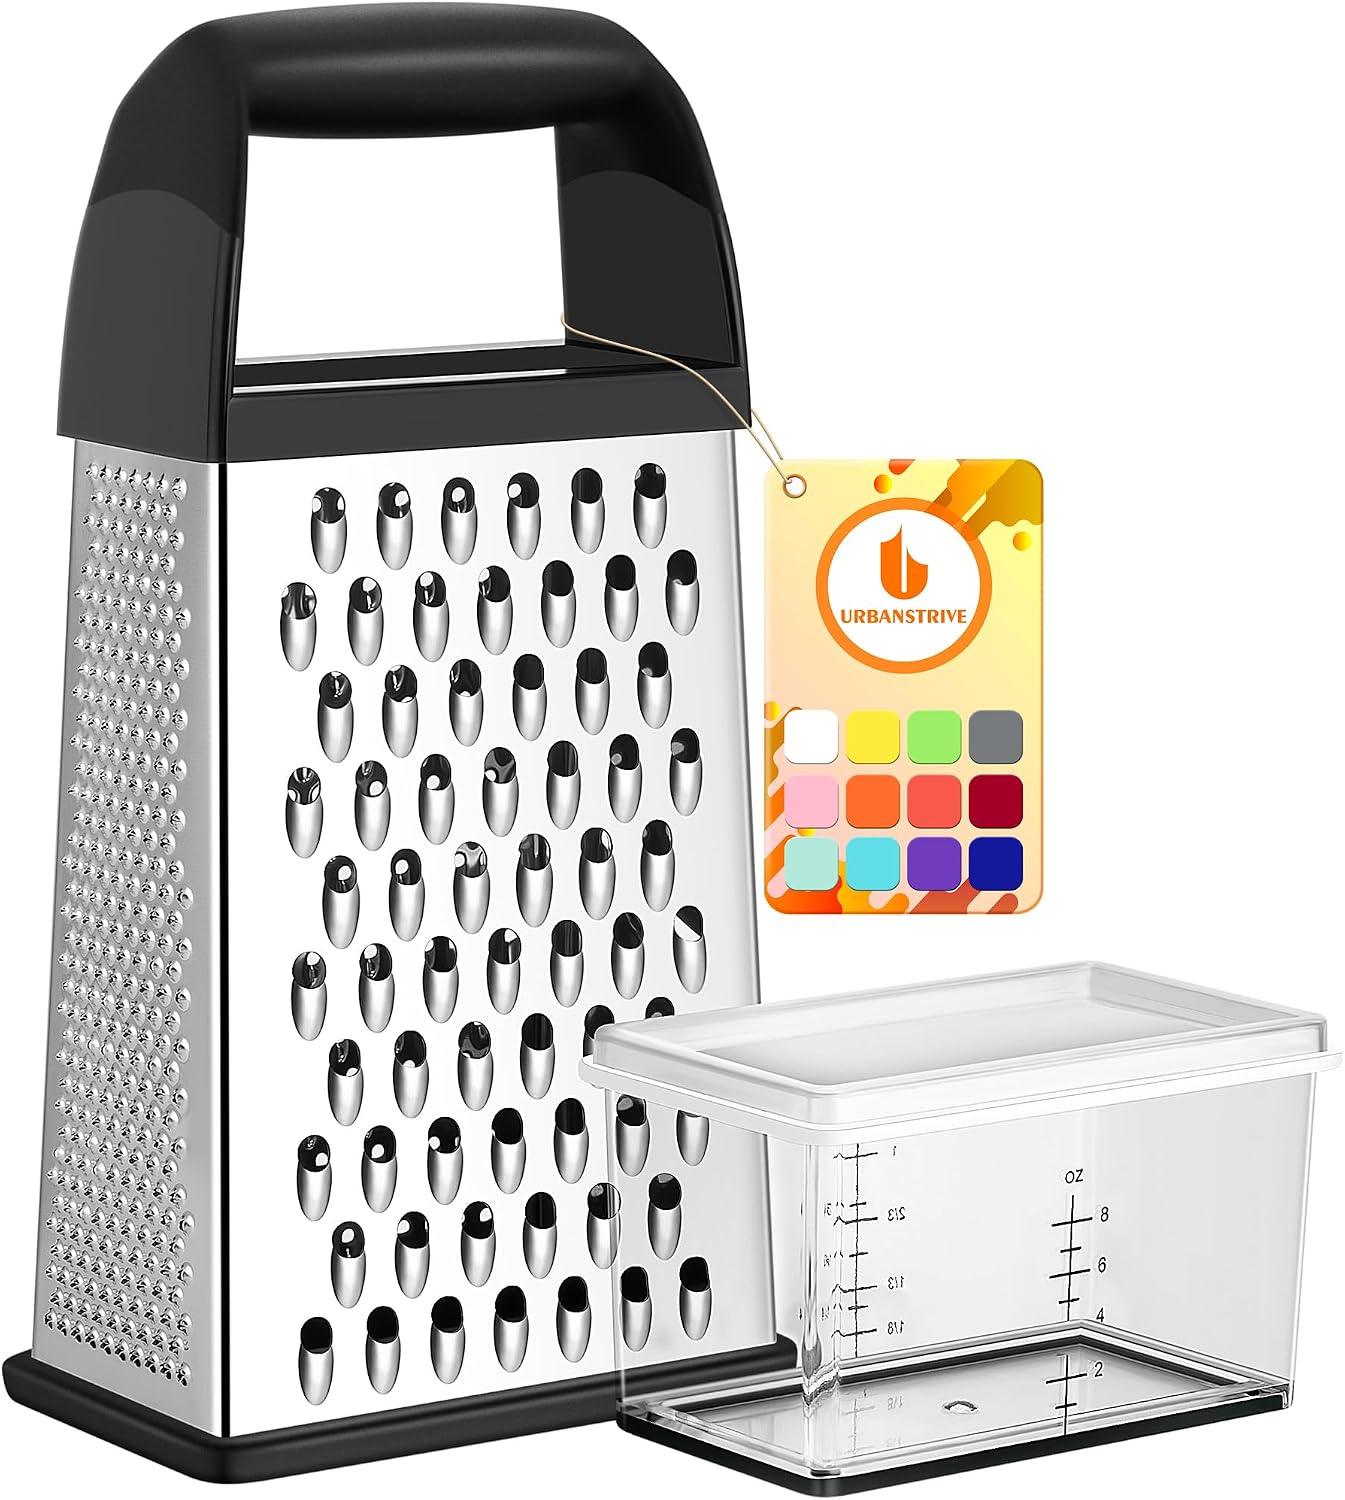
Stainless Steel Box Grater (4-Sided)
Freshly shredded cheese melts far better than bagged — essential for copycat restaurant recipes.