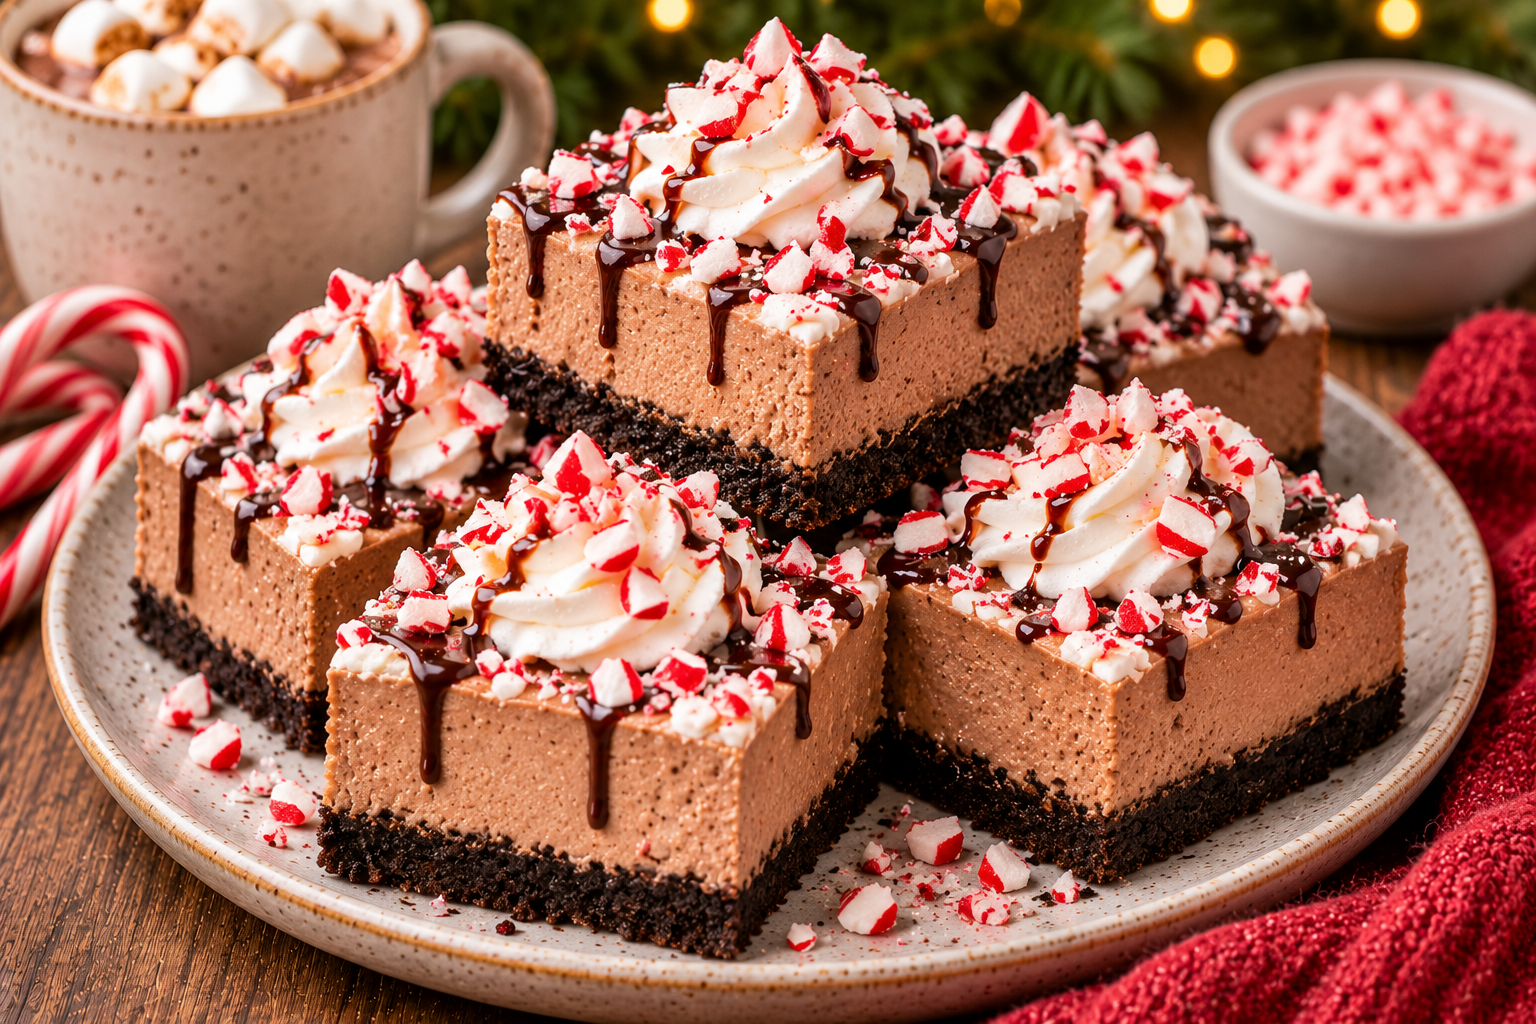
No-Bake Peppermint Hot Chocolate Cheesecake Bars

A chocolate cookie crust, creamy peppermint hot chocolate cheesecake filling, and crushed candy cane topping make these no-bake bars a festive holiday dessert.
No-Bake Peppermint Hot Chocolate Cheesecake Bars
These no-bake peppermint hot chocolate cheesecake bars bring the cozy flavor of a winter mug of cocoa into a cool, creamy holiday dessert. A chocolate cookie crust supports a fluffy chocolate cheesecake filling, while peppermint adds a refreshing finish. A layer of whipped topping, crushed candy canes, and chocolate curls makes each square look festive on a Christmas dessert tray.
Because the bars set in the refrigerator, there is no oven time and they can be made ahead for a party. The most important steps are to press the crust firmly into the pan, let melted chocolate cool before adding it to the cream cheese, and chill the finished bars until fully firm before slicing. Keep them cold until serving for clean edges and a creamy texture.
Why You’ll Love These Holiday Cheesecake Bars
This dessert combines familiar hot chocolate flavors with peppermint in an easy slice-and-serve format. The chocolate cookie base gives a crisp contrast to the soft filling, and the whipped topping keeps the bars light rather than overly rich. Crushed peppermint candies add color and a little crunch.
They are especially useful when the oven is busy with holiday cooking. Make the bars the day before, chill overnight, and add the decorative topping shortly before serving. The recipe is also easy to portion into small squares for a cookie exchange, dessert buffet, or holiday gathering.
Ingredients You’ll Need
- Chocolate sandwich cookies: About 24 cookies, finely crushed, for the crust. There is no need to remove the filling.
- Unsalted butter: Five tablespoons, melted, to bind the cookie crumbs.
- Cream cheese: Two 8-ounce blocks, softened to room temperature, for a smooth cheesecake filling.
- Powdered sugar: Three-quarters cup, sifted if lumpy, to sweeten the filling without a gritty texture.
- Semisweet chocolate: Four ounces, melted and cooled until barely warm. This adds the hot chocolate flavor and helps the filling set.
- Unsweetened cocoa powder: Two tablespoons for a deeper chocolate taste.
- Peppermint extract: One-quarter teaspoon to start. Peppermint extract is strong, so measure carefully and add only a little more after tasting.
- Whipped topping: One 8-ounce tub, thawed in the refrigerator, folded into the filling for a lighter texture. Use a stable whipped topping for the neatest slices.
- Vanilla extract: One teaspoon to round out the chocolate flavor.
- For topping: Extra whipped topping, two tablespoons crushed candy canes or peppermint candies, and chocolate curls or finely grated chocolate.
Equipment
Use an 8-inch square baking pan, parchment paper with overhanging edges, a food processor or sturdy bag and rolling pin for crushing cookies, a mixing bowl, an electric hand mixer, a heatproof bowl for melting chocolate, and a flexible spatula. A sharp knife warmed and wiped between cuts helps make tidy bars.
How to Make No-Bake Peppermint Hot Chocolate Cheesecake Bars
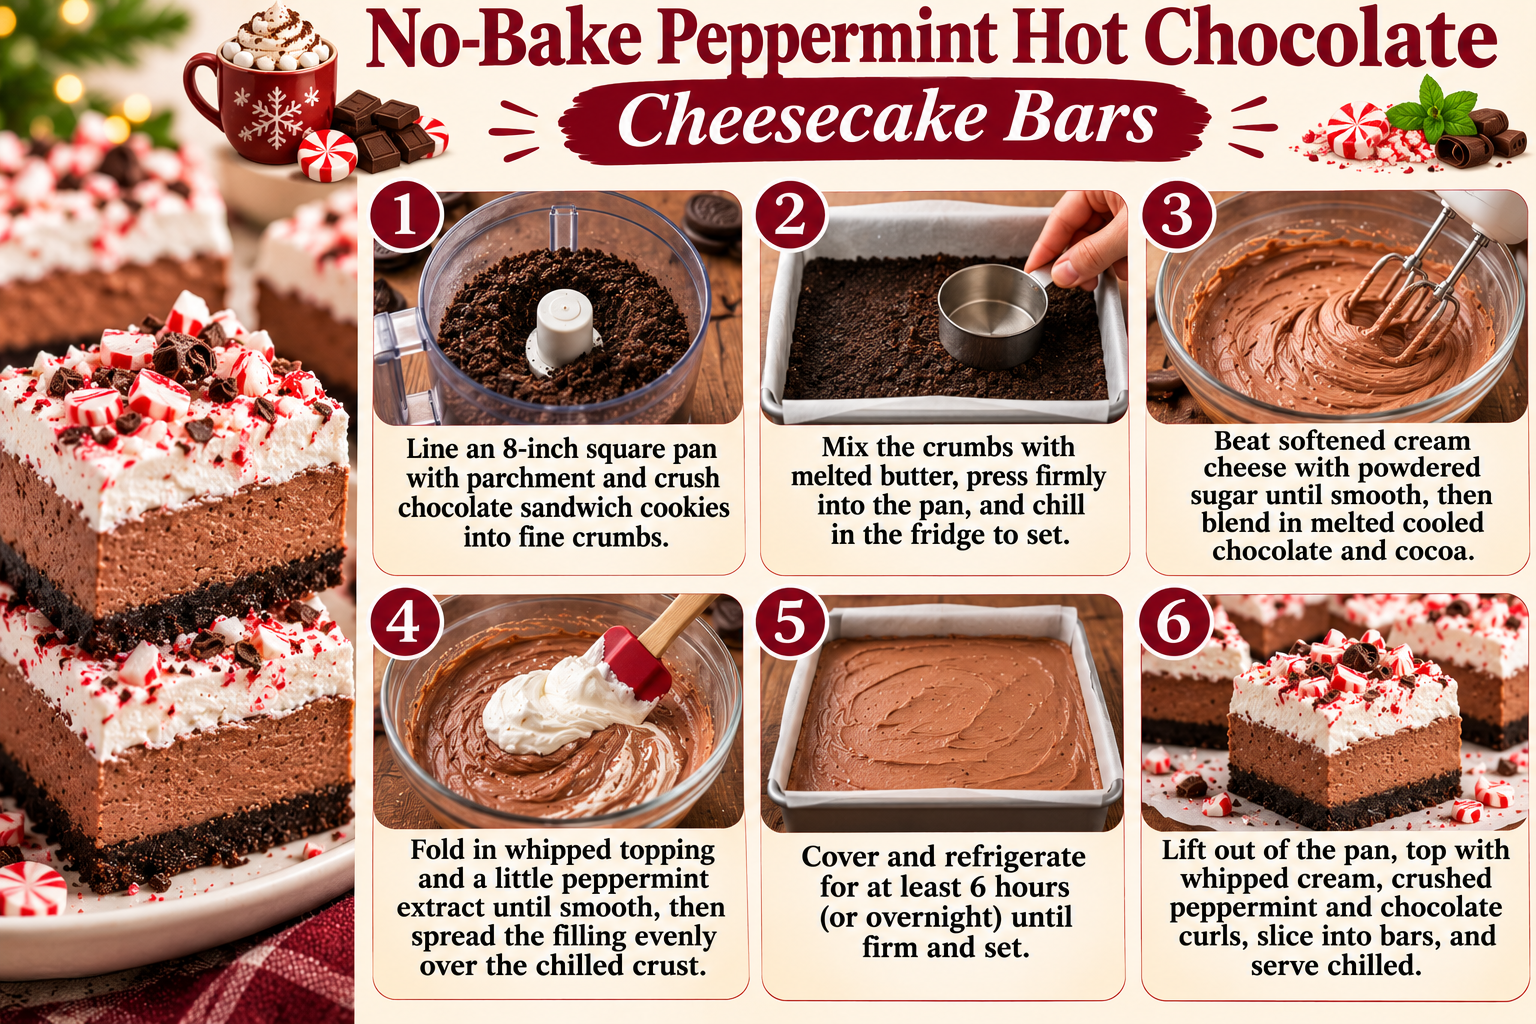
- Prepare the pan and crush the cookies. Line an 8-inch square pan with parchment paper, leaving enough overhang on two sides to lift the chilled bars out later. Crush the chocolate sandwich cookies into fine crumbs using a food processor or a sealed bag and rolling pin. Transfer the crumbs to a bowl.
- Make and chill the crust. Stir the melted butter into the cookie crumbs until the mixture resembles damp sand. Tip it into the prepared pan and press firmly into an even layer, using the bottom of a measuring cup to compact it. Refrigerate for about 20 to 30 minutes while you prepare the filling.
- Beat the cream cheese and chocolate. Make sure the cream cheese is soft before mixing. Beat it with the powdered sugar until smooth and fluffy, scraping down the bowl as needed. Melt the semisweet chocolate gently and let it cool until barely warm but still fluid. Mix the cocoa powder, vanilla, and cooled melted chocolate into the cream cheese until evenly combined.
- Add peppermint and whipped topping. Mix in the peppermint extract. Start with the stated small amount because extracts vary in strength. Fold in the thawed whipped topping with a spatula until the filling is light and no large white streaks remain. Avoid vigorous mixing, which can deflate the filling.
- Fill the pan and chill. Spoon the chocolate peppermint filling over the chilled crust. Spread it evenly into the corners and smooth the top. Cover the pan without letting the covering touch the filling, then refrigerate for at least 6 hours or overnight, until firm enough to cut.
- Decorate and slice. Use the parchment overhang to lift the chilled slab from the pan. Spread or pipe extra whipped topping over the surface, then sprinkle with crushed peppermint and chocolate curls. Slice into bars with a sharp knife, wiping the blade between cuts. Keep refrigerated until ready to serve.
Tips for Smooth, Clean-Slicing Bars
Soften the cream cheese fully. Cold cream cheese can leave small lumps in the filling. Let it sit at room temperature until soft, but do not leave it out for an extended period. Beat it smooth before adding the other ingredients.
Cool the melted chocolate. Chocolate that is too hot can soften the cream cheese mixture and affect the texture. Let it cool until barely warm and still pourable before mixing it in.
Use peppermint extract sparingly. Peppermint flavor can quickly become overpowering. Begin with a small measured amount, taste, and add only a drop or two more if needed.
Press the crust firmly. A compact crust is less likely to crumble when the bars are lifted and sliced. Chill it before adding the filling so the butter has time to firm up.
Give the bars enough time to set. Six hours is a useful minimum, but overnight chilling gives the cleanest slices. If the center still feels soft, return the pan to the refrigerator rather than trying to cut it early.
Easy Variations
For a darker chocolate flavor, use bittersweet chocolate and add a teaspoon of cocoa powder. For a sweeter, milk-chocolate-style filling, use milk chocolate, but remember that it is softer and sweeter than semisweet chocolate. You may prefer to reduce the powdered sugar slightly after tasting the mixture.
You can make a plain hot chocolate version by leaving out the peppermint extract and candy cane topping. A little espresso powder can deepen the chocolate flavor without making the bars taste strongly of coffee. For extra crunch, sprinkle finely chopped chocolate cookies over the top along with the peppermint.
Make-Ahead, Storage, and Freezing
These bars are ideal for preparing ahead. Make and chill them the day before, then add whipped topping, crushed peppermint, and chocolate curls closer to serving so the decorations stay attractive. Keep the bars covered in the refrigerator and serve them chilled.
Because the filling contains cream cheese and whipped topping, do not leave the bars at room temperature for more than two hours. Store leftovers in an airtight container in the refrigerator and enjoy within 3 to 4 days for best quality. Keep them away from strong-smelling foods so the peppermint and chocolate flavors remain fresh.
For longer storage, freeze the undecorated bars in a single layer until firm, then wrap well or place in a freezer-safe container with parchment between layers. Freeze for up to about one month for best texture. Thaw overnight in the refrigerator and add the whipped topping and crushed peppermint after thawing. The candy topping can soften if stored on the bars for a long time.
Serving Ideas for a Holiday Dessert Table
Arrange the bars on a chilled platter with a little space between each piece. They pair nicely with coffee, hot chocolate, or peppermint tea. For a dessert board, serve them with chocolate-dipped pretzels, shortbread cookies, fresh strawberries, and a bowl of extra crushed peppermint. Since the bars are rich, small squares are often enough for a party serving.
Frequently Asked Questions
Can I make these cheesecake bars without whipped topping?
Whipped topping helps create a light, stable filling in this no-bake version. You can use homemade whipped cream that has been whipped to stiff peaks, but the bars may be softer and are best kept very cold. A stabilizer can help homemade whipped cream hold its shape.
Can I use peppermint oil instead of peppermint extract?
Peppermint oil is much more concentrated than many extracts, so it is not a one-for-one substitution. Use only a tiny amount suitable for food and follow the product guidance. Peppermint extract is easier to measure for this recipe.
Why is my filling too soft?
The cream cheese may not have been fully softened and blended, the melted chocolate may have been too warm, or the bars may not have chilled long enough. Refrigerate until fully firm. Make sure the whipped topping is thawed but still cold before folding it in.
Can I use a different pan size?
An 8-inch square pan gives relatively thick bars. A 9-inch square pan can be used for thinner bars, but the crust and filling layers will be less deep. Line the pan with parchment so the slab can be lifted out easily.
How do I cut neat cheesecake bars?
Chill the bars until firm, lift them from the pan using the parchment, and use a large sharp knife. Warm the blade under hot water, wipe it dry, make one cut, and wipe the blade before the next cut.
A Festive No-Bake Treat for Chocolate and Peppermint Fans
No-bake peppermint hot chocolate cheesecake bars are a simple holiday dessert with a crisp chocolate cookie crust, creamy chocolate filling, and a cool peppermint finish. Make them ahead, let them chill until firm, and decorate just before serving. Cut them into small squares for a festive dessert platter that brings the flavors of hot chocolate and peppermint to every bite.
Ready to make something?
Turn inspiration into dinner.
Browse our tested recipes for practical step-by-step ideas, weeknight favorites and something delicious to try next.
Find your next recipe →Helpful Tools for This Recipe
Disclosure: Affiliate disclosure: This post contains affiliate links. As an Amazon Associate I earn from qualifying purchases at no extra cost to you.
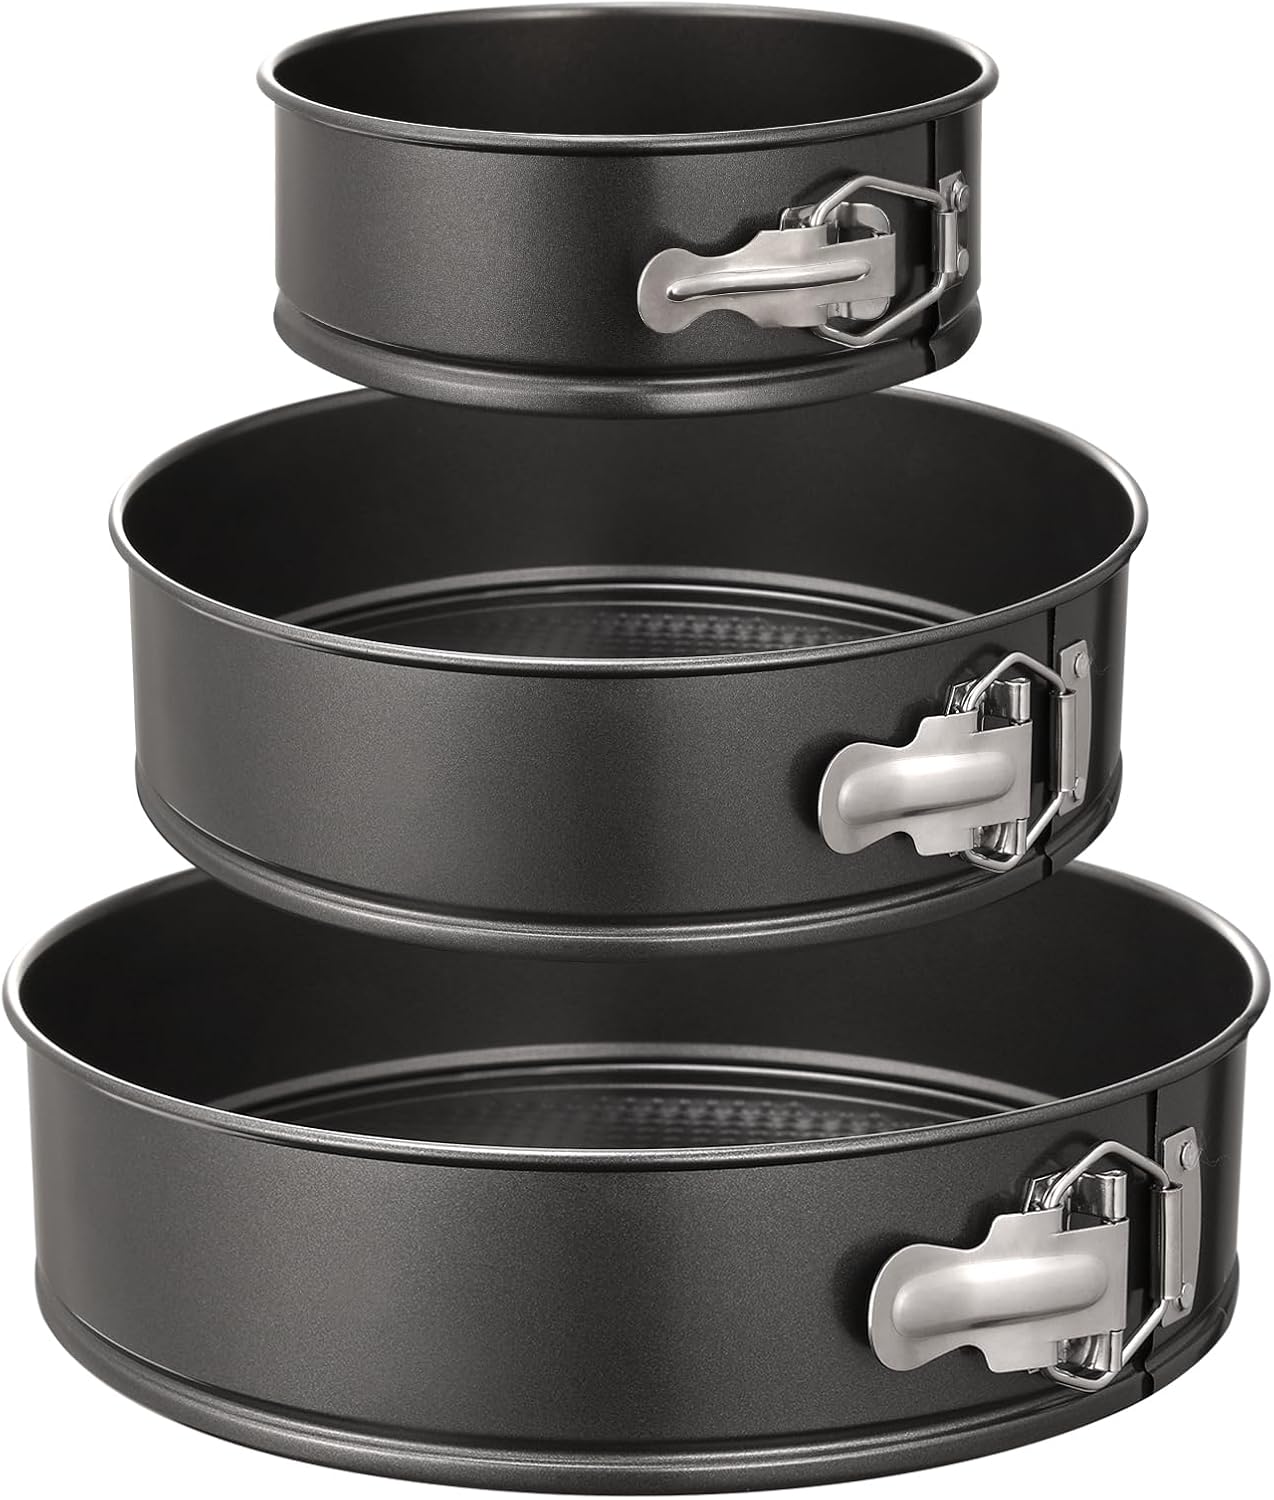 (paid link)
Nonstick Springform Pan Set (6", 8", 10")
The removable sides release cheesecakes and layered tarts flawlessly without a single crack.
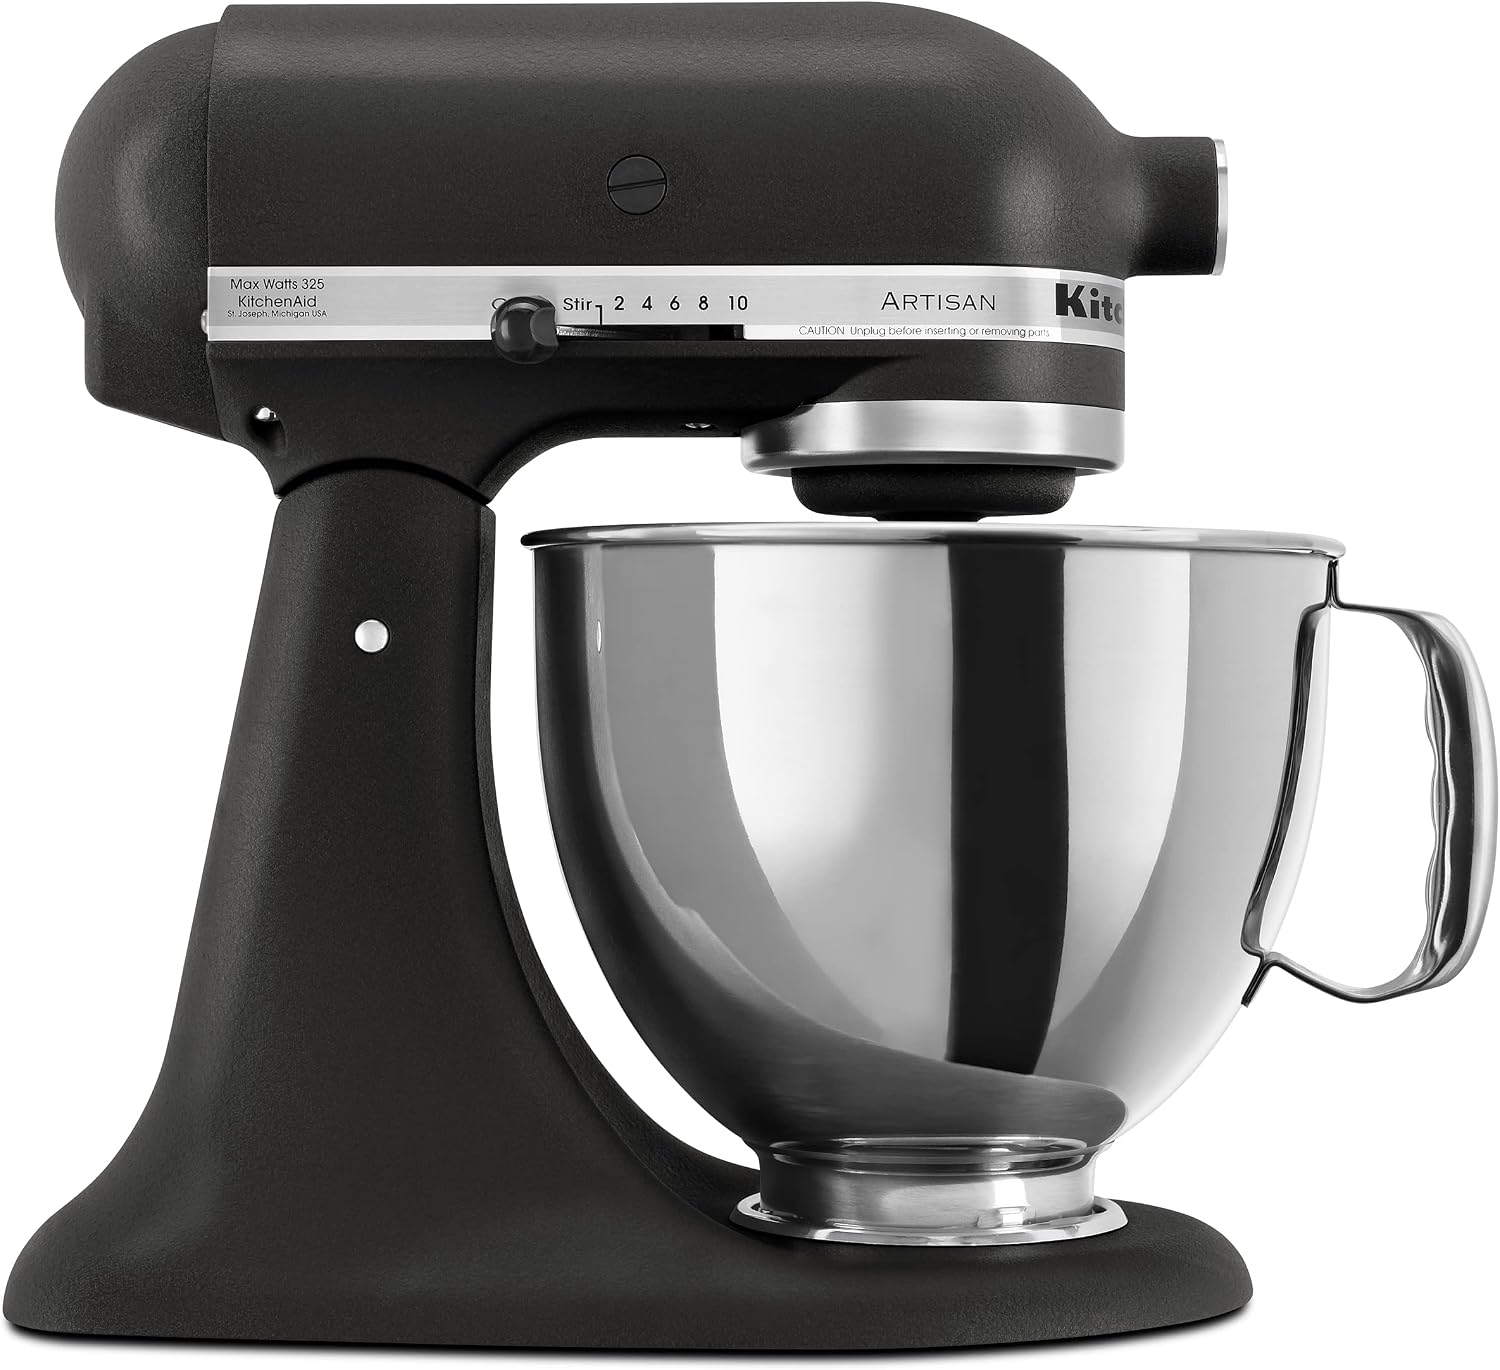 (paid link)
Tilt-Head Stand Mixer (5-Quart)
Whips batters, kneads doughs, and creams butter hands-free for professional-quality baked goods.
 (paid link)
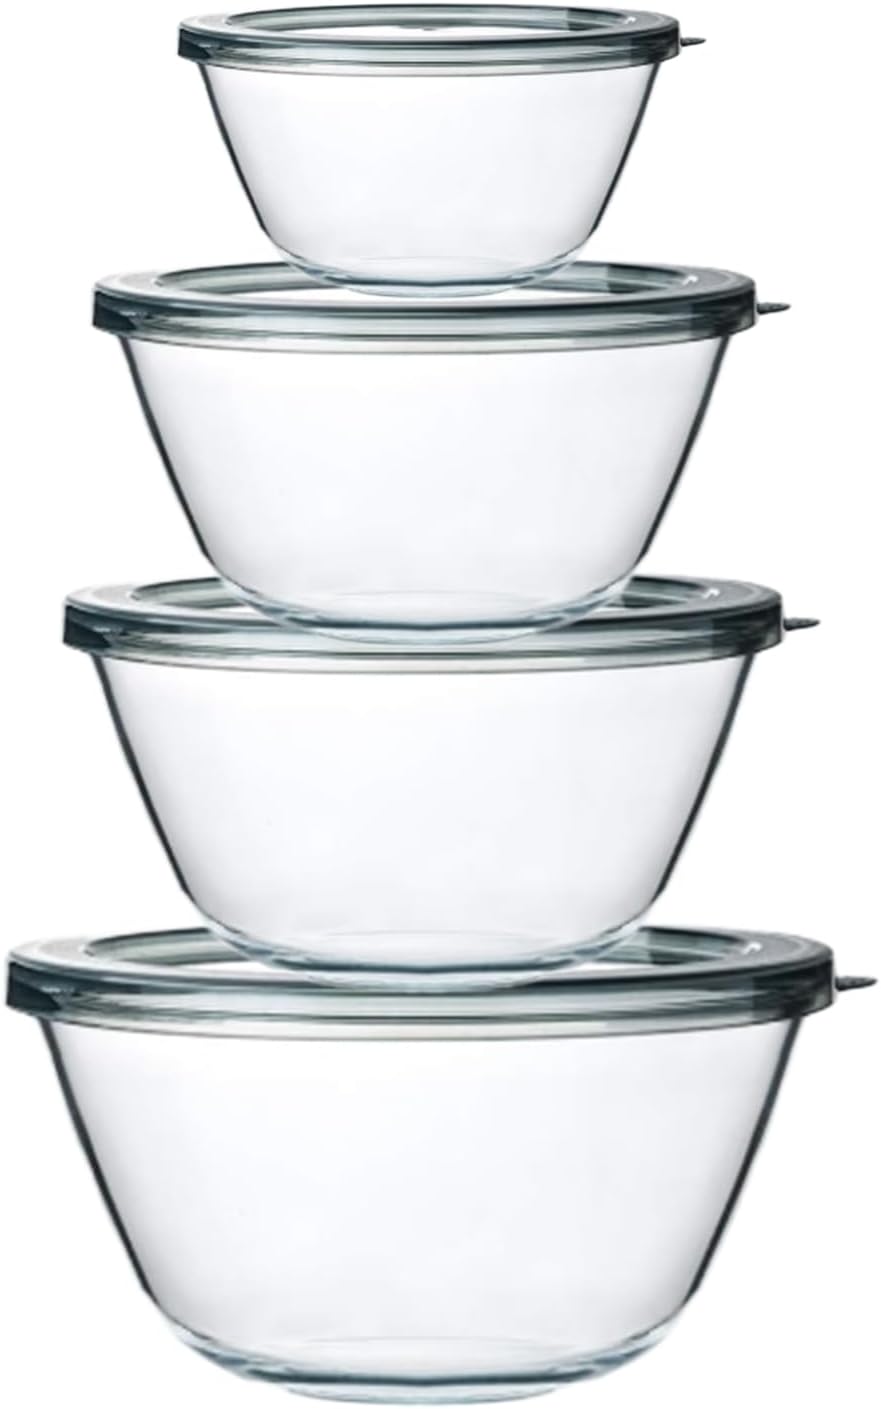
Nesting Glass Mixing Bowls with Measurement Marks
Non-porous glass does not absorb food odors, making it ideal for marinades, dressings, and yeast dough.