Japanese Salt Bread Rolls (Shio Pan)

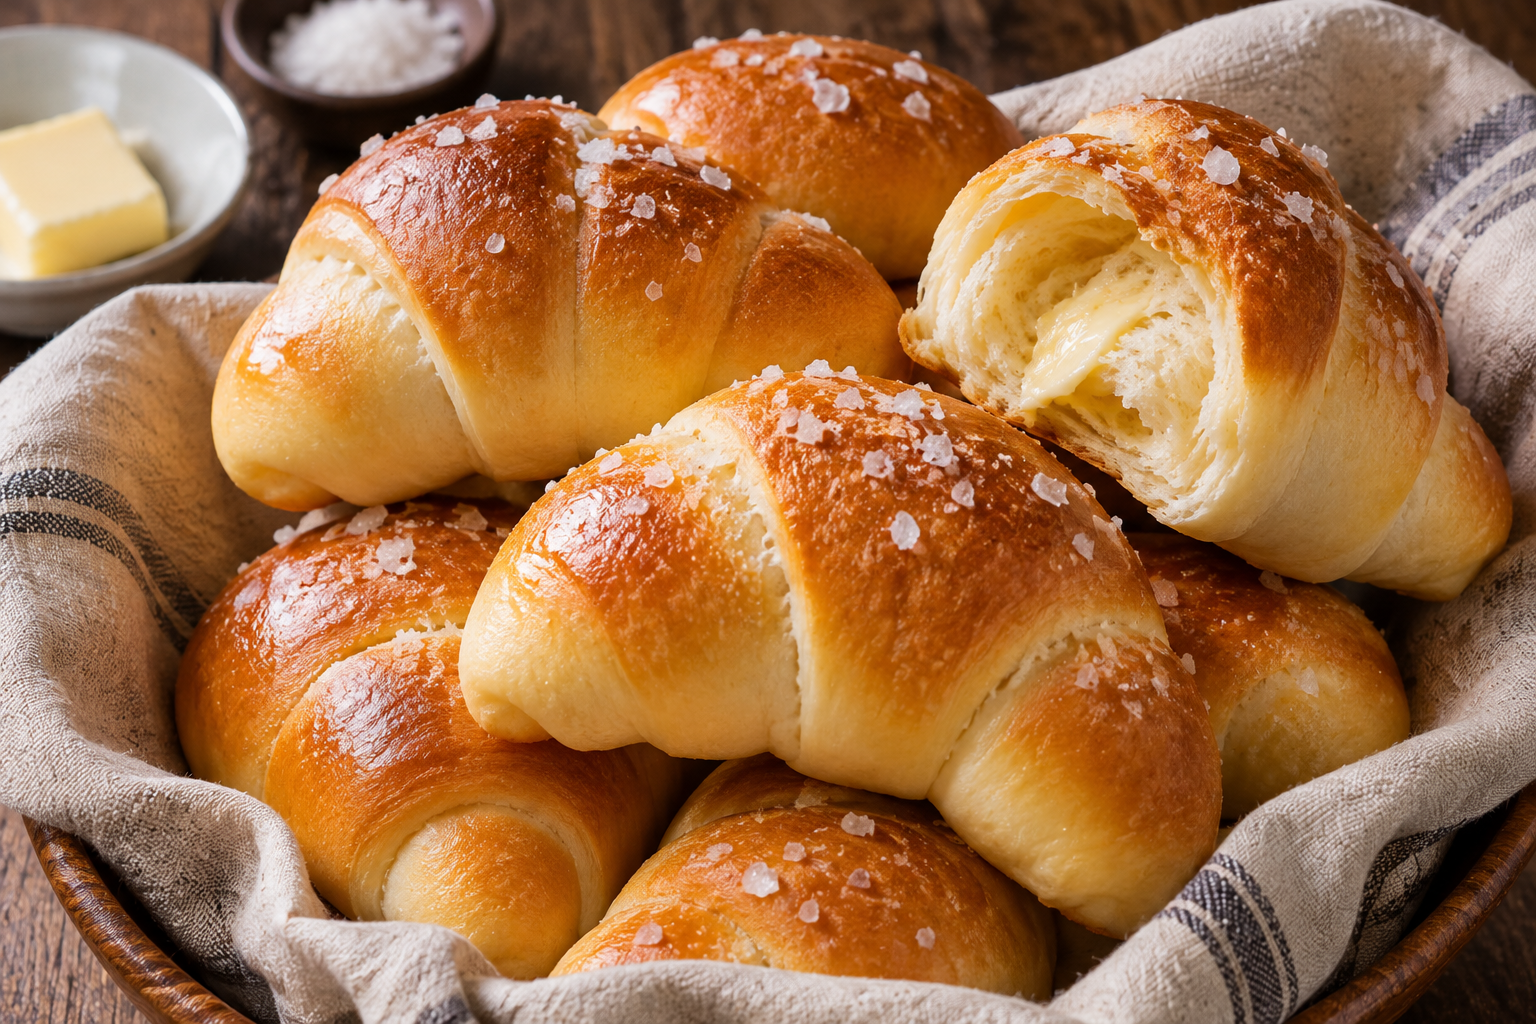
Japanese shio pan are buttery crescent-shaped rolls with a crisp, lightly salted crust, a soft interior, and a little butter tucked inside each roll.
Japanese Salt Bread Rolls (Shio Pan)
Japanese salt bread rolls, known as shio pan, are crescent-shaped rolls with a thin, crisp exterior, a soft and airy middle, and a buttery center. Each piece of dough is wrapped around a small baton of cold butter before baking. As the butter melts, some runs toward the bottom of the roll and helps create a lightly crisp, almost fried base. A little flaky sea salt on top gives the bread its simple savory finish.
This recipe makes eight rolls. The hands-on preparation takes about 30 minutes, but the dough also needs time to rise and proof, so plan for roughly two and a half to three hours from mixing to serving. Bread flour gives the rolls their pleasant chew, while milk, sugar, and softened butter enrich the dough. The most important shaping detail is to keep the filling butter cold and seal the dough around it. A small amount of butter leakage is normal; careful sealing helps keep the rolls full and prevents excessive loss.
Why You’ll Enjoy This Recipe
The texture is distinctive. Shio pan has a crisp bottom and a tender interior. The melted butter inside helps create that contrast, while the flaky salt makes the flavor more noticeable without turning the bread overly salty.
The ingredient list is manageable. Flour, milk, yeast, sugar, salt, and butter form a straightforward enriched dough. The shaping takes a little practice, but the rolls do not require a complicated filling or glaze.
They are useful at different times of day. Serve them warm for breakfast, with soup at lunch, or alongside a salad or simple dinner. They are also good as a snack on their own.
The process teaches useful bread skills. Kneading until elastic, allowing a full first rise, resting the divided dough, and proofing until puffy all help build confidence with yeast baking.
Ingredients You’ll Need
Bread flour (2½ cups / 315 g), plus a little for dusting: Bread flour provides the gluten structure that helps the rolls stretch into long teardrops and bake with a pleasantly chewy crumb. All-purpose flour can work, but the rolls may be softer and less chewy.
Granulated sugar (2 tablespoons / 25 g), instant yeast (1 teaspoon), and fine salt (1 teaspoon): Sugar adds a mild sweetness and supports browning. Instant yeast can be mixed directly with the dry ingredients. Fine salt seasons the dough itself.
Lukewarm whole milk (¾ cup / 180 ml, about 100–105°F / 38–41°C) and softened unsalted butter (2 tablespoons / 28 g): Milk hydrates the flour and enriches the dough. The softened butter is kneaded into the dough for tenderness. Avoid milk that is too hot, which can damage the yeast.
Cold unsalted butter (8 pieces, about 8 g each): Cut the butter into short batons for the centers. Keep it cold until each roll is shaped so it melts gradually in the oven rather than becoming greasy during handling.
Milk (1 tablespoon) and flaky sea salt (1–2 teaspoons): Brush the shaped rolls lightly with milk to help the surface brown. A small pinch of flaky salt on each roll provides the finishing savory note.
Equipment
Use a stand mixer with a dough hook or a large mixing bowl, a kitchen scale, a bench scraper, rolling pin, parchment-lined baking sheet, pastry brush, and cooling rack. A kitchen scale is especially helpful for dividing the dough into eight equal portions. If kneading by hand, use a lightly floured surface and resist adding too much extra flour; a slightly tacky dough helps produce softer rolls.
How to Make Japanese Salt Bread Rolls
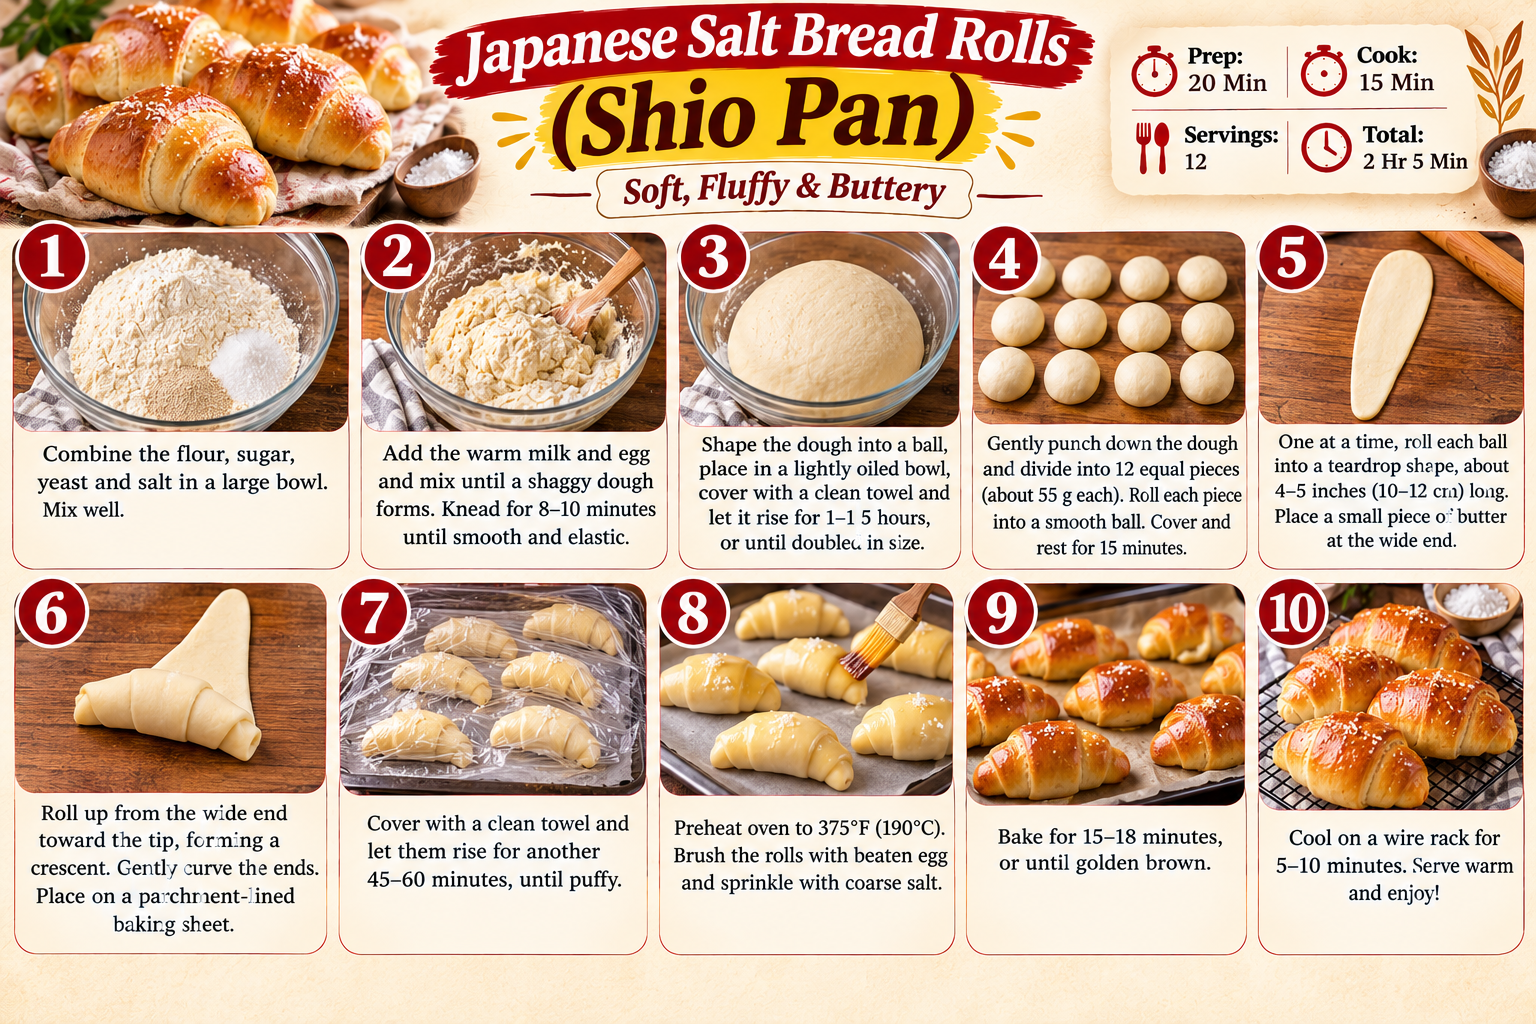
- Mix the dry ingredients. Combine 2½ cups bread flour, 2 tablespoons sugar, 1 teaspoon instant yeast, and 1 teaspoon fine salt in the bowl of a stand mixer or a large mixing bowl.
- Add milk and softened butter. Pour in ¾ cup lukewarm milk and add 2 tablespoons softened butter. Mix until a shaggy dough forms and no large dry patches remain.
- Knead until elastic. Knead with a dough hook on medium-low for 8–10 minutes, or by hand for 10–12 minutes, until smooth, elastic, and slightly tacky. Add flour only a teaspoon at a time if the dough is unmanageably sticky.
- Complete the first rise. Shape the dough into a ball and place it in a lightly greased bowl. Cover and let rise in a warm place for 60–90 minutes, until doubled in size.
- Divide and rest. Divide the dough into eight equal pieces, about 70–75 g each. Shape into balls, cover, and rest for 10–15 minutes so the gluten relaxes and the pieces are easier to roll.
- Shape each roll. Working with one piece at a time, roll it into a teardrop or long triangle about 8–9 inches (20–23 cm) long, with a wider base. Keep the remaining dough covered so it does not dry out.
- Add the butter and roll. Place one cold butter baton at the wide end. Fold the two lower corners over the butter, then roll snugly toward the pointed tip to form a crescent-like roll. Pinch the tip underneath and place seam-side down on a parchment-lined baking sheet.
- Proof the shaped rolls. Cover loosely and proof for 30–45 minutes, until puffy and about one and a half times their original size. Meanwhile, heat the oven to 400°F (200°C).
- Brush and season. Brush the rolls lightly with 1 tablespoon milk and sprinkle each with a small pinch of flaky sea salt.
- Bake until golden. Bake for 15–18 minutes until deeply golden brown and crisp on the bottom. Rotate the pan once if your oven browns unevenly.
- Cool briefly. Transfer the rolls to a rack and cool for at least 10 minutes before eating. The melted butter inside is very hot. Serve warm for the best contrast between the crisp crust and soft center.
Tips and Troubleshooting
Measure the dough portions. Equal pieces bake at a similar rate and look consistent on the tray. Weighing each portion is more reliable than dividing by eye.
Keep the dough slightly tacky. Adding too much flour can make the rolls dry and tight. A smooth dough that still feels a little tacky is usually preferable to a stiff one.
Seal the butter inside. Fold the wide end over the butter and roll snugly toward the tip. Pinch the point underneath so the seam stays against the tray. If the dough is not sealed, more butter may escape during baking.
Keep the filling butter cold. If it softens while you shape the rolls, return it to the refrigerator. Cold butter is easier to wrap and is less likely to leak before the dough sets.
Do not overproof. The rolls should look puffy, but they should not be fragile or collapsing. Overproofed dough can lose its shape and may allow more butter to escape.
Expect a little butter at the base. Some butter leakage is normal and contributes to the crisp underside. Excessive leakage usually points to soft filling butter, an open seam, or overproofing.
Easy Variations
All-purpose flour can replace bread flour, although the texture may be less chewy. Begin with about 2¼ cups and add only as needed to form a workable dough. For a dairy-free version, use unsweetened plant milk and vegan butter in both the dough and filling; flavor and browning will differ. You can also make the dough the night before: after kneading, cover and refrigerate it overnight, then let it sit at room temperature until workable before dividing, shaping, proofing, and baking.
What to Serve With It
Shio pan is excellent with coffee or tea at breakfast. For lunch, serve it with tomato soup, a clear vegetable soup, or a simple salad. It also works as a dinner roll beside roasted vegetables, grilled fish, or chicken. Because the rolls are buttery and lightly salty, pair them with dishes that are not overly rich or heavily seasoned.
Make-Ahead, Storage, and Reheating
For an overnight option, knead the dough, cover it, and refrigerate it after the first mixing stage. Let it warm enough to become workable before dividing and shaping. You can also bake the rolls earlier in the day and refresh them shortly before serving. They are at their best on the day they are baked, when the bottom is still crisp.
Store completely cooled rolls in an airtight container at room temperature for up to one day, or refrigerate for up to three days. Re-crisp them in a 350°F (175°C) oven for 4–6 minutes. Freeze cooled rolls in a freezer bag for up to one month; thaw and warm in the oven. Avoid microwaving if you want to preserve the crisp crust, as it softens the exterior.
Frequently Asked Questions
Why did butter leak out of my shio pan?
A little leakage is normal and helps crisp the bottom. Excessive leakage can happen if the filling butter was soft, the dough was not sealed well, or the rolls were overproofed.
Can I make shio pan dough ahead?
Yes. After kneading, cover and refrigerate the dough overnight. Let it sit at room temperature until it is workable, then divide, shape, proof, and bake.
Can I use all-purpose flour?
Yes. The rolls may be softer and less chewy than those made with bread flour. Start with a little less flour and add only what is needed to make a smooth, slightly tacky dough.
Freshly Baked Rolls with a Buttery Center
Japanese salt bread rolls reward a little patience during rising and shaping. Keep the dough soft, divide it evenly, wrap cold butter securely, and proof until the rolls are puffy rather than fragile. The oven creates the signature golden crust and crisp base. Let them cool briefly before serving so the centers are safe to eat, then enjoy them while the contrast of textures is at its best.
Ready to make something?
Turn inspiration into dinner.
Browse our tested recipes for practical step-by-step ideas, weeknight favorites and something delicious to try next.
Find your next recipe →Helpful Tools for This Recipe
Disclosure: Affiliate disclosure: This post contains affiliate links. As an Amazon Associate I earn from qualifying purchases at no extra cost to you.
 (paid link)
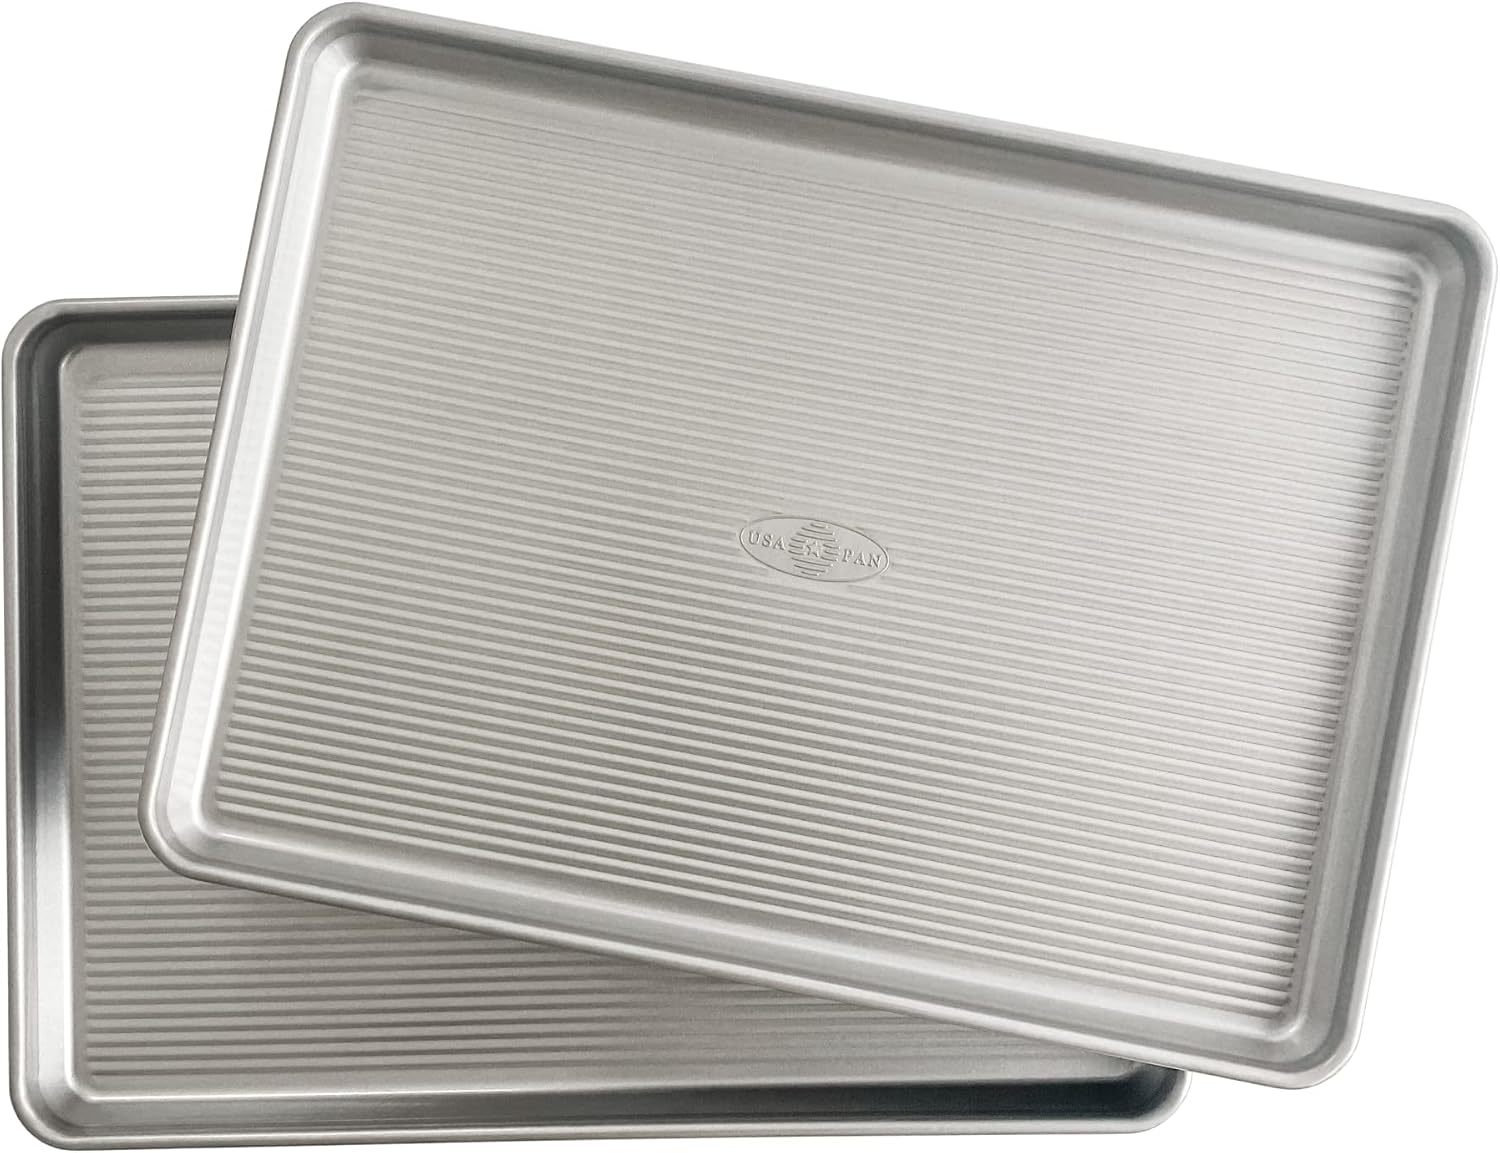
Heavy-Duty Half Sheet Baking Pans (Set of 2)
Heavy-gauge aluminum prevents warping at high heat for even sheet-pan dinners and golden rolls.
 (paid link)
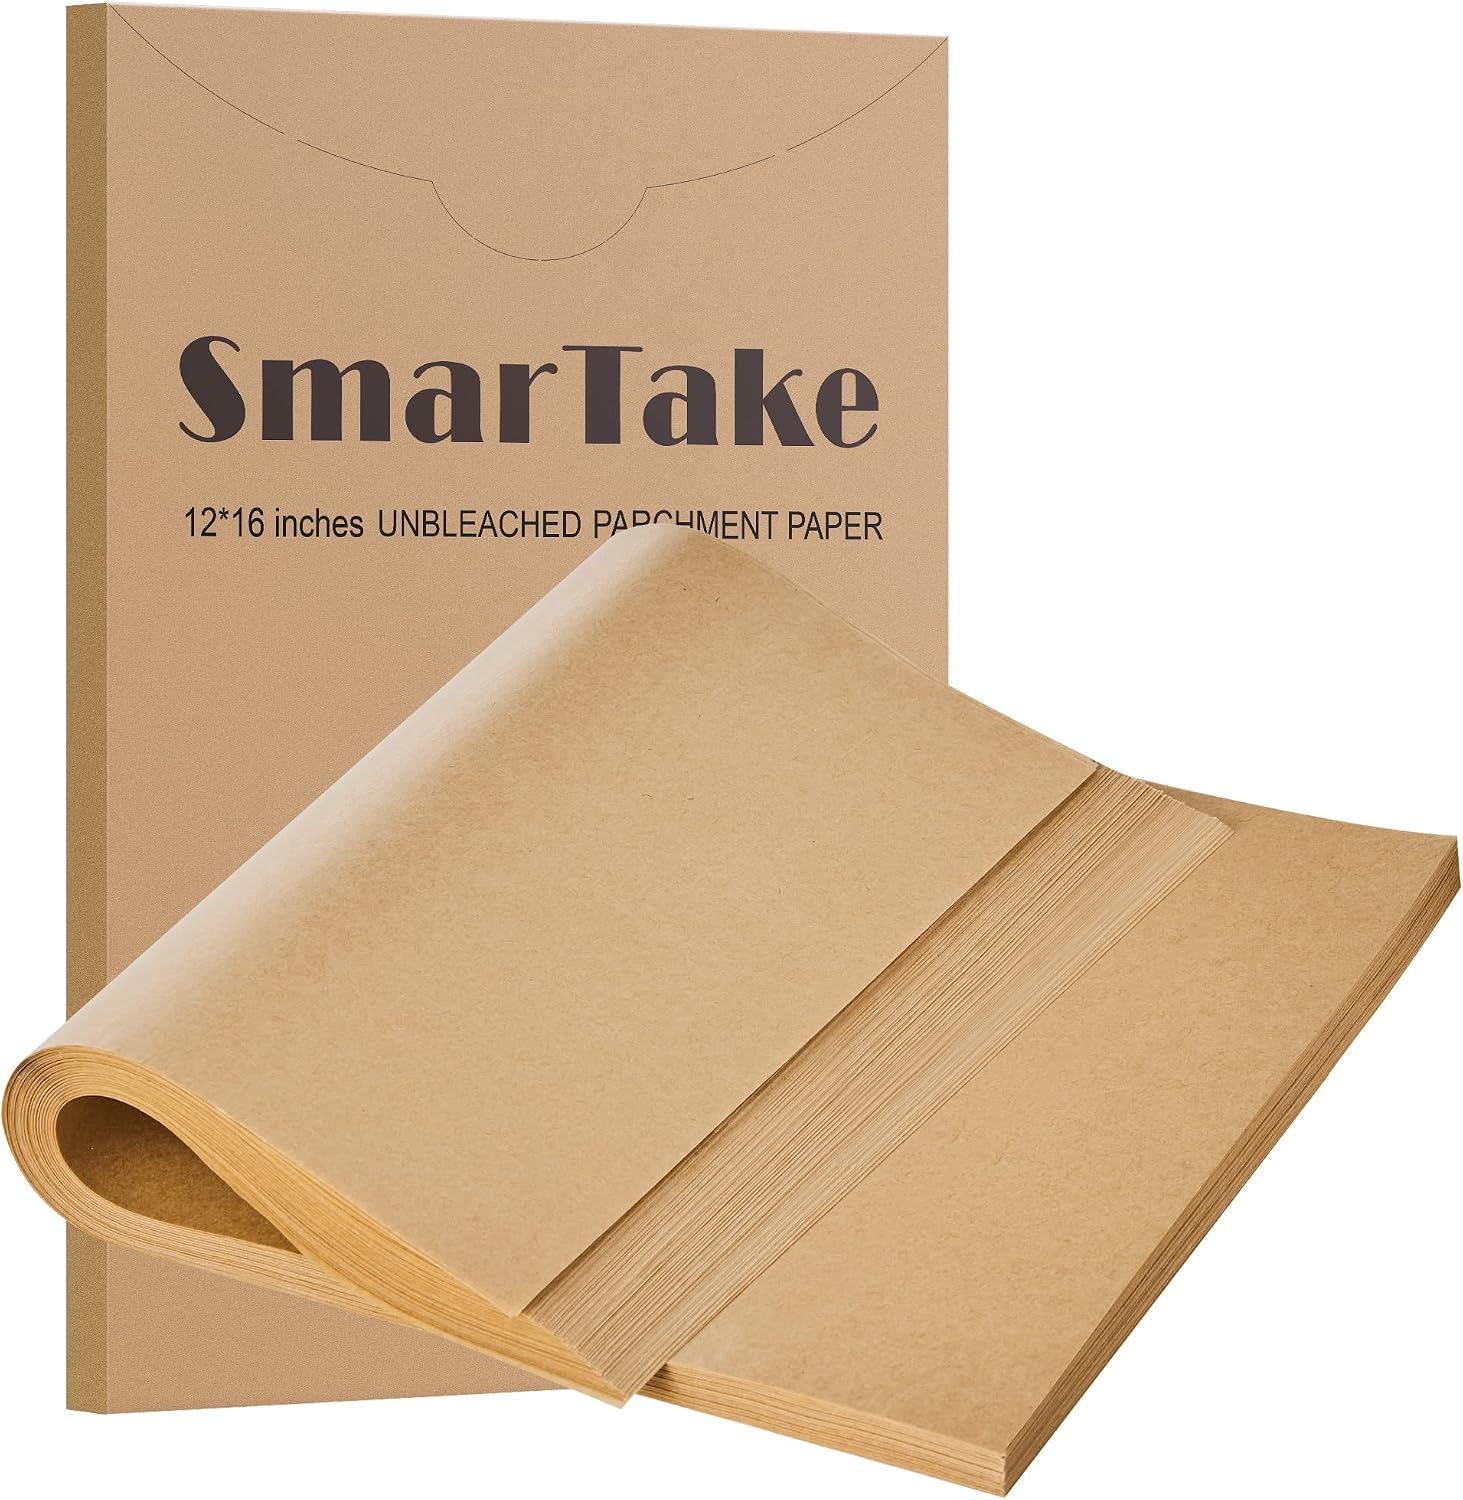
Unbleached Pre-Cut Baking Parchment Paper Sheets
Lies completely flat on baking trays for effortless release with zero sticking and swift cleanup.
 (paid link)
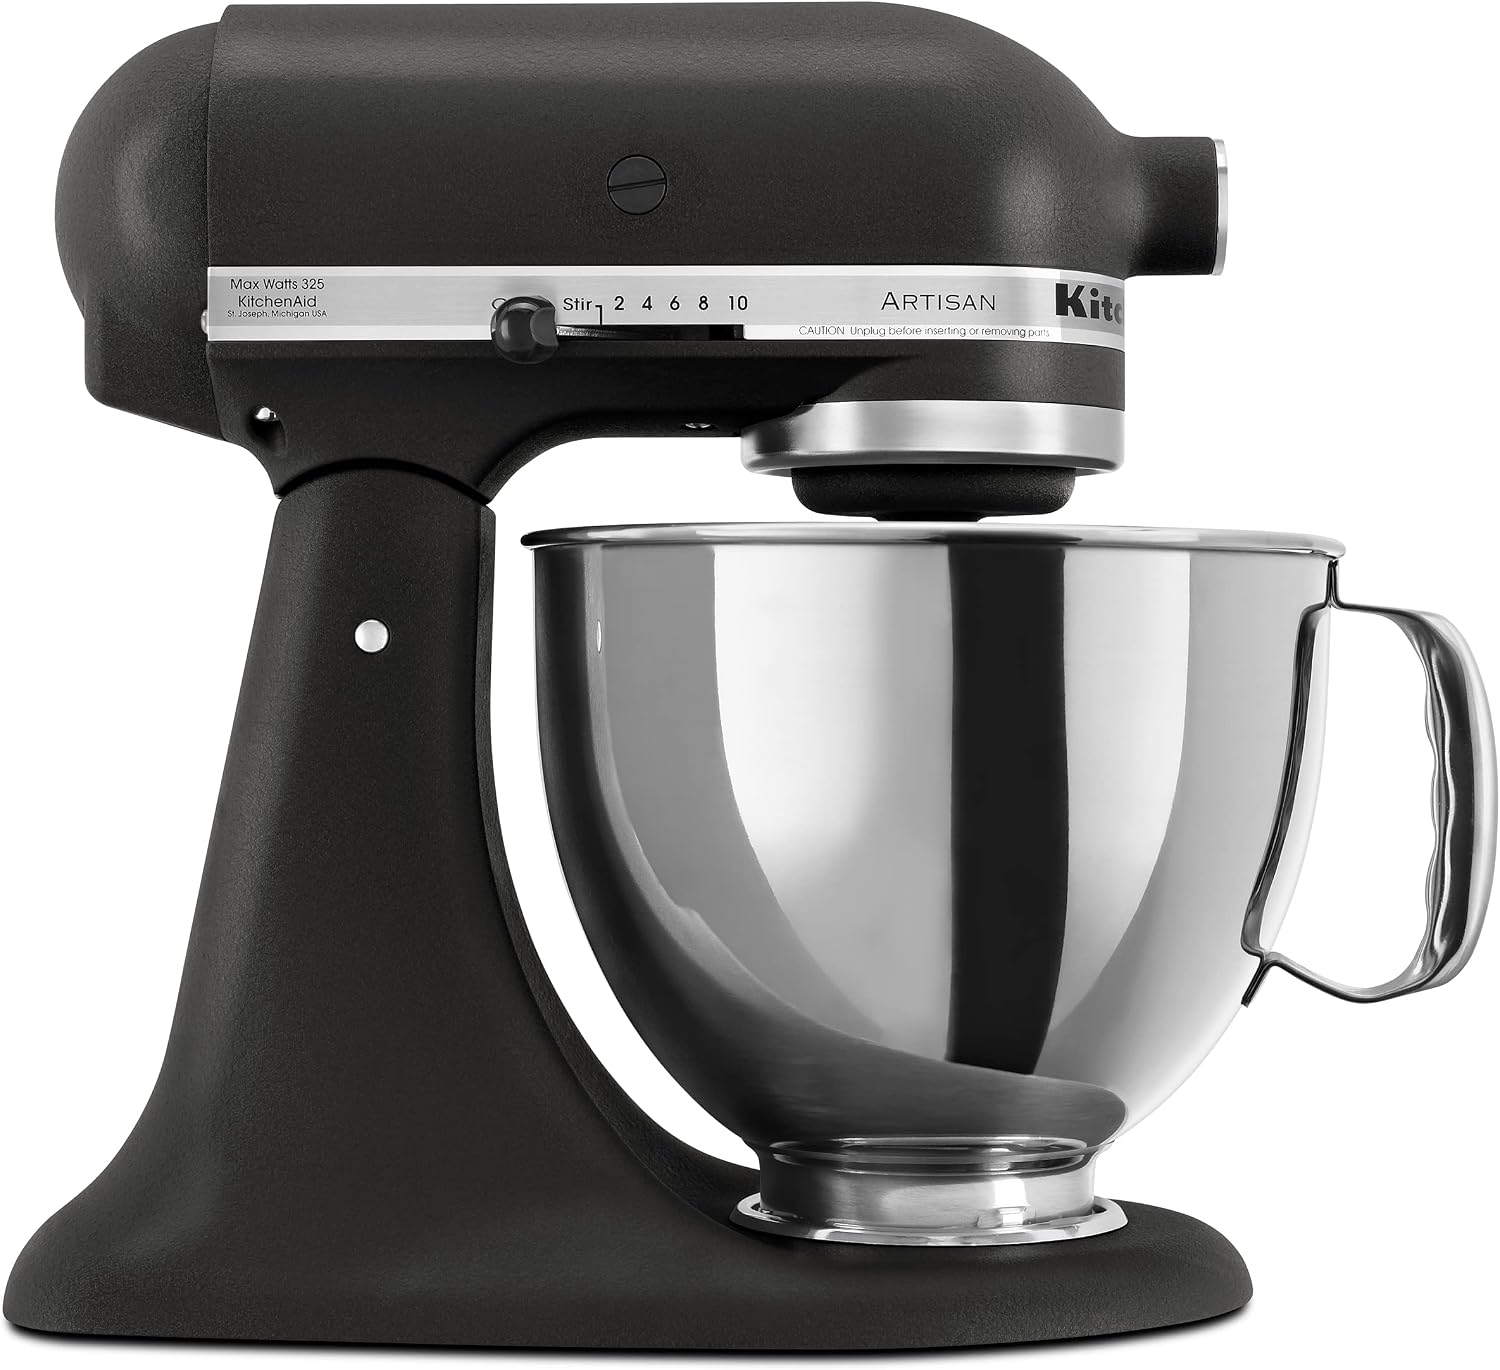
Tilt-Head Stand Mixer (5-Quart)
Whips batters, kneads doughs, and creams butter hands-free for professional-quality baked goods.