
Fudgy Chocolate Peppermint Brownie Cookies

Rich chocolate brownie-style cookies bake with soft centers, chocolate chips, and crushed peppermint for a festive dessert.
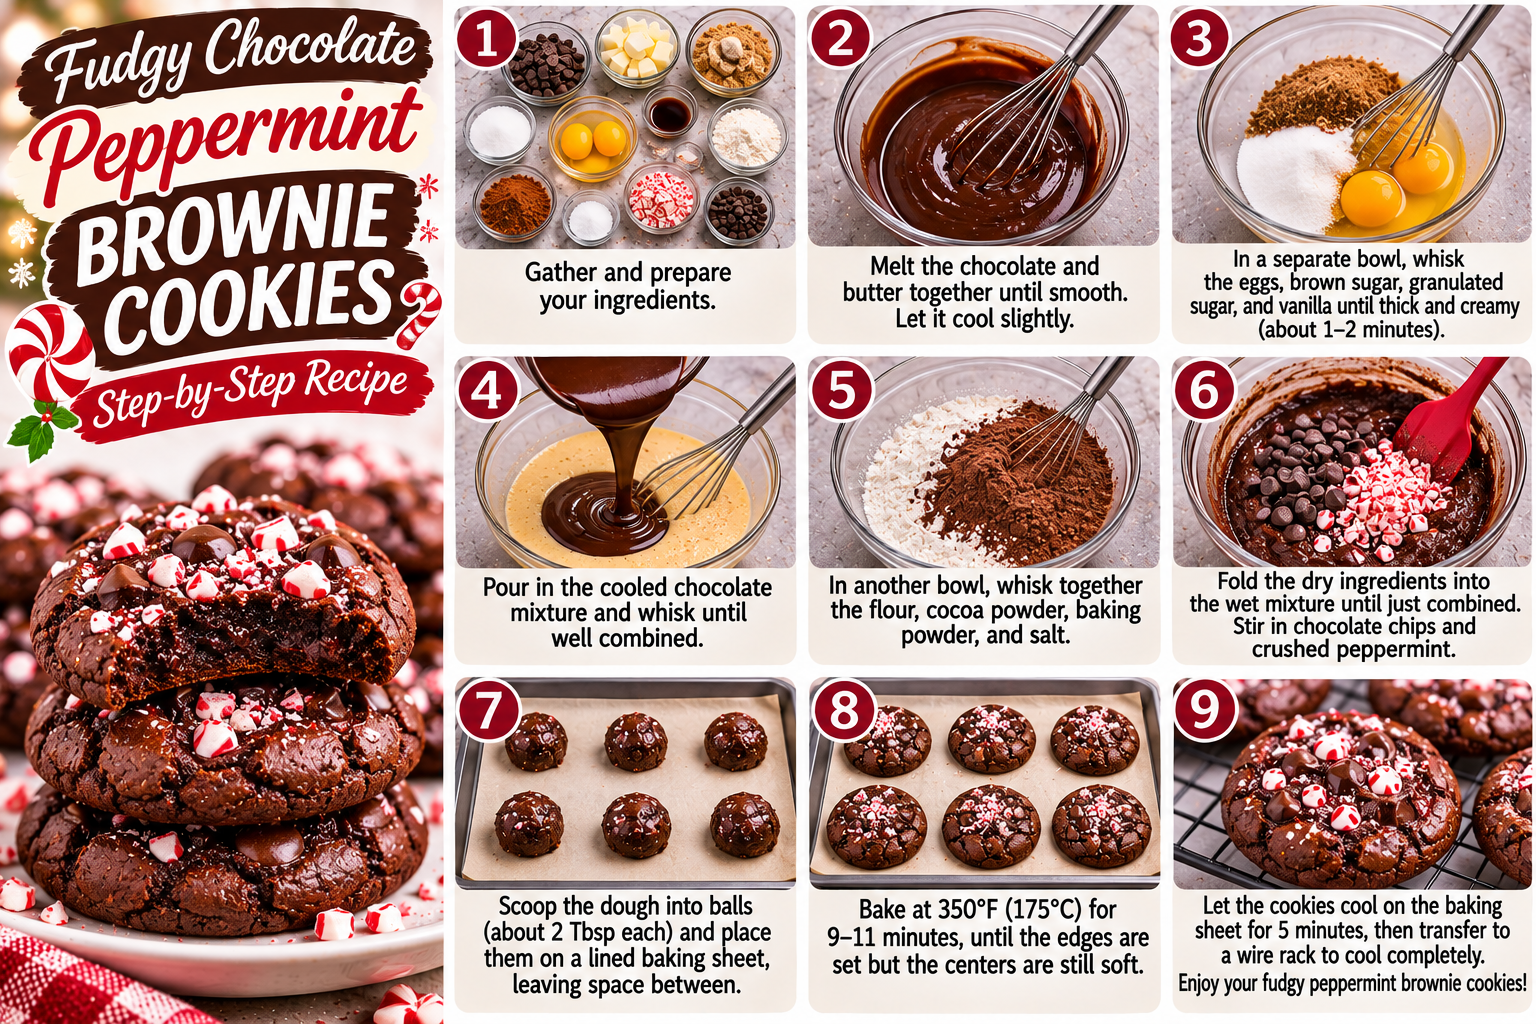
Fudgy Chocolate Peppermint Brownie Cookies
These cookies bring the crackly top and soft middle of a brownie to a hand-held treat. Melted semisweet chocolate and butter create a rich base, cocoa deepens the flavor, and crushed peppermint gives each cookie a cool finish.
The dough is closer to brownie batter than firm cookie dough, so timing matters. Measure dry ingredients and line baking sheets before melting the chocolate. Scoop and bake soon after mixing.
Recipe at a glance
- Prep time: 20 minutes
- Cook time: 10 minutes
- Total time: 30 minutes
- Yield: 18 servings
- Difficulty: Medium
Ingredients
- 8 ounces semisweet chocolate, chopped
- 4 tablespoons unsalted butter
- 2 large eggs, room temperature
- 3/4 cup granulated sugar
- 1 teaspoon vanilla extract
- 1/2 cup all-purpose flour, spooned and leveled
- 2 tablespoons unsweetened cocoa powder
- 1/2 teaspoon baking powder
- 1/4 teaspoon fine salt
- 1/2 cup chocolate chips
- 1/3 cup crushed peppermint candies or candy canes
- 3 ounces white chocolate, melted, for optional drizzle
How to make it
- Heat oven to 350°F (175°C). Line two baking sheets with parchment paper. Measure all ingredients before melting the chocolate because the dough is best baked soon after mixing.
- Place semisweet chocolate and butter in a heatproof bowl. Melt gently over a pan of barely simmering water or in short microwave bursts, stirring until smooth. Let cool until warm, not hot.
- Whisk eggs and sugar in a separate bowl for 2 to 3 minutes, until slightly thickened and lighter in color. Whisk in vanilla and the warm melted chocolate mixture.
- Stir flour, cocoa, baking powder, and salt together. Fold the dry mixture into the chocolate mixture just until no dry streaks remain, then fold in chocolate chips.
- Let the batter stand for 5 to 8 minutes until thick enough to scoop. Drop heaping tablespoon portions onto the prepared sheets, spacing them about 2 inches apart. Sprinkle with crushed peppermint.
- Bake one sheet at a time for about 9 to 11 minutes, until the edges are set and the centers look slightly soft and crackled. Cool on the sheet for 10 minutes before moving to a rack.
- Once completely cool, drizzle with melted white chocolate if desired. Let the drizzle set before stacking or storing.
Tips for the best results
Melt chocolate and butter gently, then cool until warm before adding eggs. Whisk eggs and sugar until slightly thickened for a delicate top. Fold dry ingredients only until combined. Avoid overbaking; let cookies set on the baking sheet.
Make-ahead and storage
Cool completely before storing airtight. Separate layers with parchment if using the optional white chocolate drizzle. Keep away from heat. Cooled cookies can be frozen in a sealed container and thawed at room temperature.
Frequently asked questions
Why are my brownie cookies flat?
The batter may be too warm or thin. Let it stand briefly until scoopable, measure flour accurately, and bake a test cookie before scooping the whole batch.
Can I make the dough ahead?
The batter thickens as it sits, so it is easiest to portion soon after mixing. For make-ahead baking, test chilling a covered bowl briefly and allow it to soften enough to scoop.
Can I skip the peppermint?
Yes. Omit the candy for plain fudgy chocolate cookies or use a small amount of chopped nuts if suitable for your guests.
How should I store the cookies?
Store fully cooled cookies in an airtight container at room temperature for a few days. Keep them in a single layer until the white chocolate drizzle sets.
Cooking times are estimates and can vary with equipment, ingredient brands, and portion size. Follow visual doneness cues and safe food-handling guidance.
How the brownie-cookie texture develops
These cookies rely on melted chocolate for a dense, brownie-like center. Whisking eggs and sugar until slightly thickened helps create the delicate shiny surface associated with brownies. The melted chocolate should be warm but not hot when mixed with the eggs. If too hot, it can scramble the eggs; if completely cool and thick, it becomes harder to combine. Prepare baking sheets and measure dry ingredients before starting because the batter thickens as it rests.
Chocolate and peppermint choices
Semisweet chocolate provides the main flavor, while cocoa adds depth without requiring much flour. Choose chocolate you enjoy eating on its own. Crushed candy canes add crunch and cool mint flavor, but crush them into small pieces rather than powder so they remain visible. Room-temperature eggs combine more easily with the chocolate mixture. Spoon flour into the measuring cup and level it instead of scooping directly from the bag, which can pack in too much.
Baking cues and troubleshooting
The cookies may look slightly underdone in the center when they leave the oven. The edges should be set, the tops crackled, and the centers soft but not liquid. They continue to firm as they cool on the baking sheet. Moving them too soon can cause the warm centers to break. If they spread too much, the batter may have been warm or the baking sheet hot. Use a cool sheet pan and chill the next tray briefly if needed. If they turn dry, they may have baked too long or contained too much flour.
Serving and storing
Serve fully cooled so the centers have set and the peppermint remains crisp. They pair well with coffee, hot chocolate, or cold milk. Store in an airtight container with parchment between layers, in a cool, dry place. Peppermint can soften in humidity. The batter is best baked soon after mixing, but baked cookies can be frozen once cool. Thaw in a single layer and add any fresh drizzle after thawing. Avoid storing warm cookies because trapped steam softens their crackly tops.
Getting evenly sized cookies
A small cookie scoop makes portions consistent, which helps every cookie finish baking at about the same time. If using two spoons, try to keep the portions similar and leave enough room for spreading. Bake one tray at a time when possible, placing it in the center of the oven. If you bake multiple trays together, rotate them only if your oven has noticeable hot spots and avoid opening the door repeatedly. Let the baking sheet cool before adding another batch; warm metal can cause the next portions to spread too quickly.
Making the peppermint finish look polished
Sprinkle crushed peppermint while the cookie tops are still tacky so the pieces adhere. If you prefer a cleaner appearance, reserve the white chocolate drizzle until the cookies are completely cool. Melt the white chocolate gently and drizzle with a spoon or a small piping bag. Let it set before stacking. Candy canes vary in mint intensity, so start with the listed amount and add more only if you enjoy a pronounced peppermint flavor. A little flaky salt can also balance the sweetness.
For a mixed cookie tray, place these beside vanilla shortbread or plain sugar cookies. Their chocolate-and-mint flavor is distinctive, so a few per plate are often enough. Keep them away from strongly scented foods during storage because chocolate can absorb odors. If gifting, pack them snugly but not tightly, with parchment between layers to protect the crackled tops and decoration.
Portioning and cooling for the best finish
Try to keep the cookie portions uniform, especially if you are baking more than one tray. Smaller portions will finish sooner, while larger scoops need more time for the centers to set. Let the cookies cool on the baking sheet until they can be lifted without bending, then transfer them to a rack. Add white chocolate only after they are cool, and allow the drizzle to harden before packing. If you want a less intense mint finish, sprinkle peppermint over only half the batch so guests can choose.
Ready to make something?
Turn inspiration into dinner.
Browse our tested recipes for practical step-by-step ideas, weeknight favorites and something delicious to try next.
Find your next recipe →Helpful Tools for This Recipe
Disclosure: Affiliate disclosure: This post contains affiliate links. As an Amazon Associate I earn from qualifying purchases at no extra cost to you.
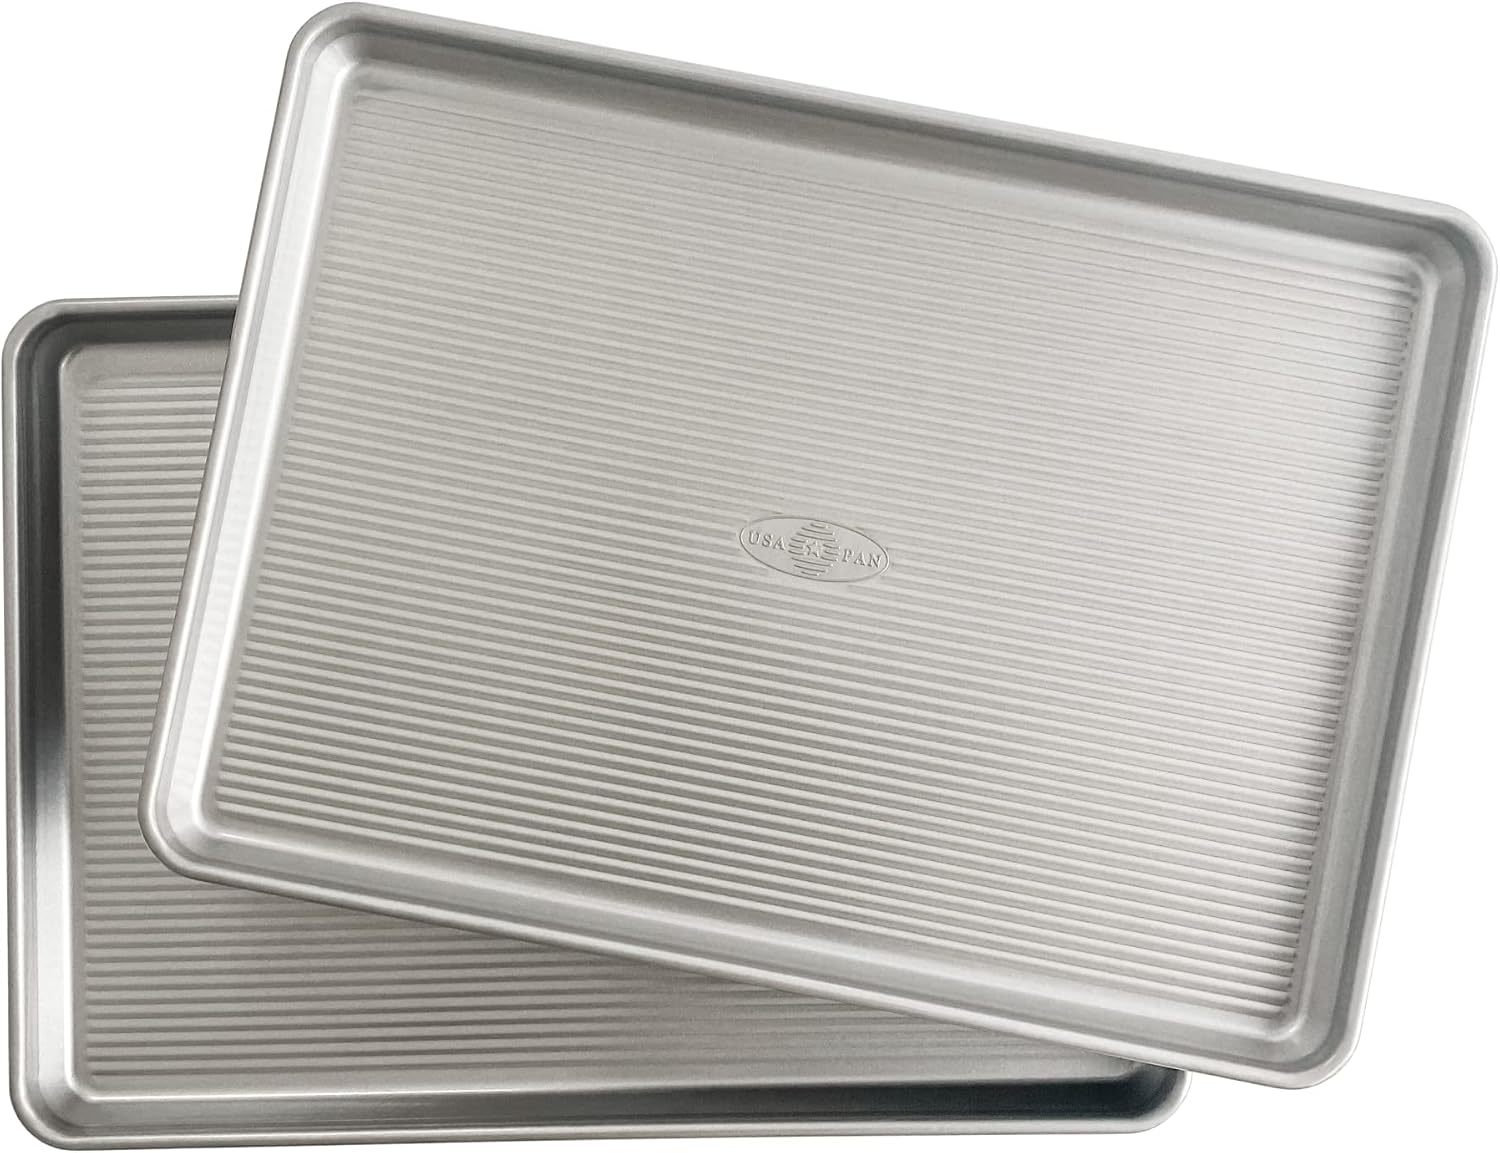 (paid link)
Heavy-Duty Half Sheet Baking Pans (Set of 2)
Heavy-gauge aluminum prevents warping at high heat for even sheet-pan dinners and golden rolls.
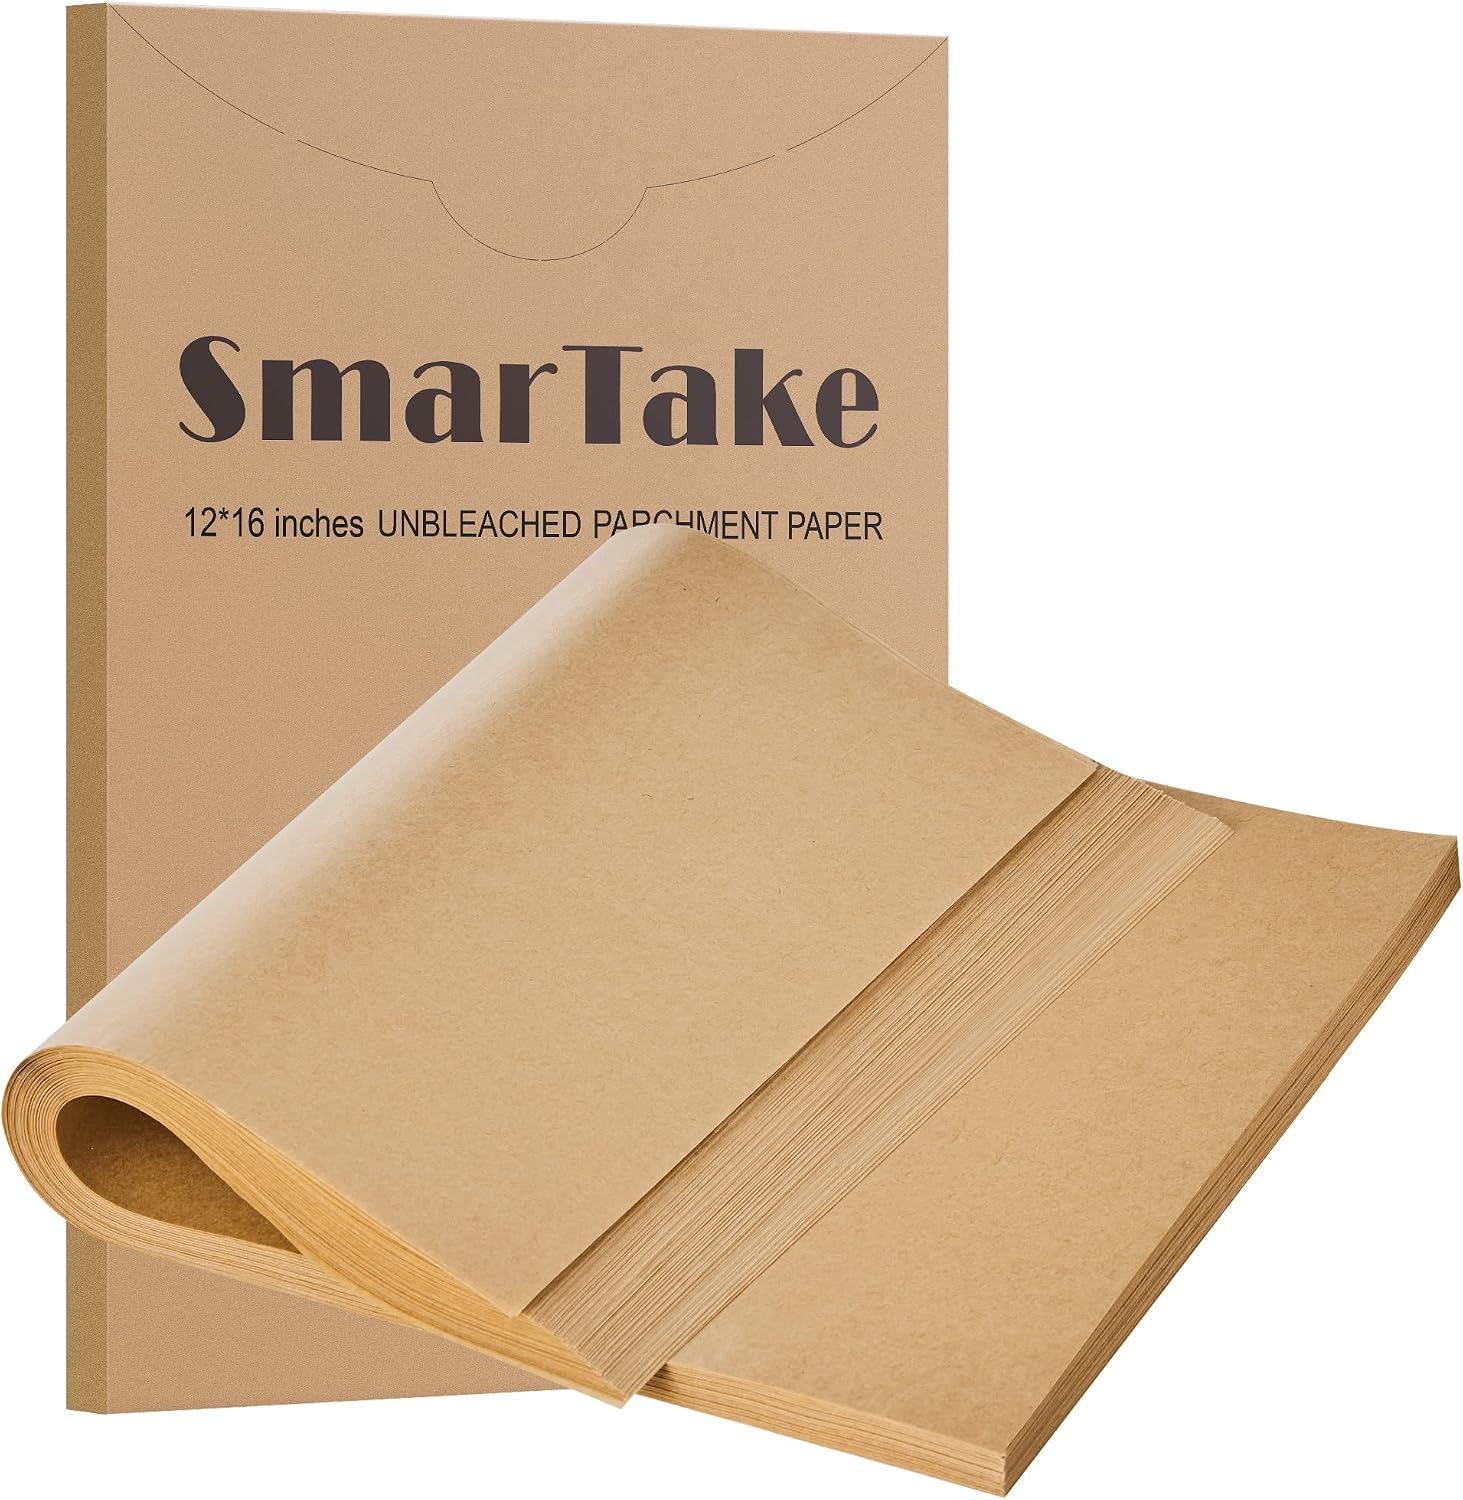 (paid link)
Unbleached Pre-Cut Baking Parchment Paper Sheets
Lies completely flat on baking trays for effortless release with zero sticking and swift cleanup.
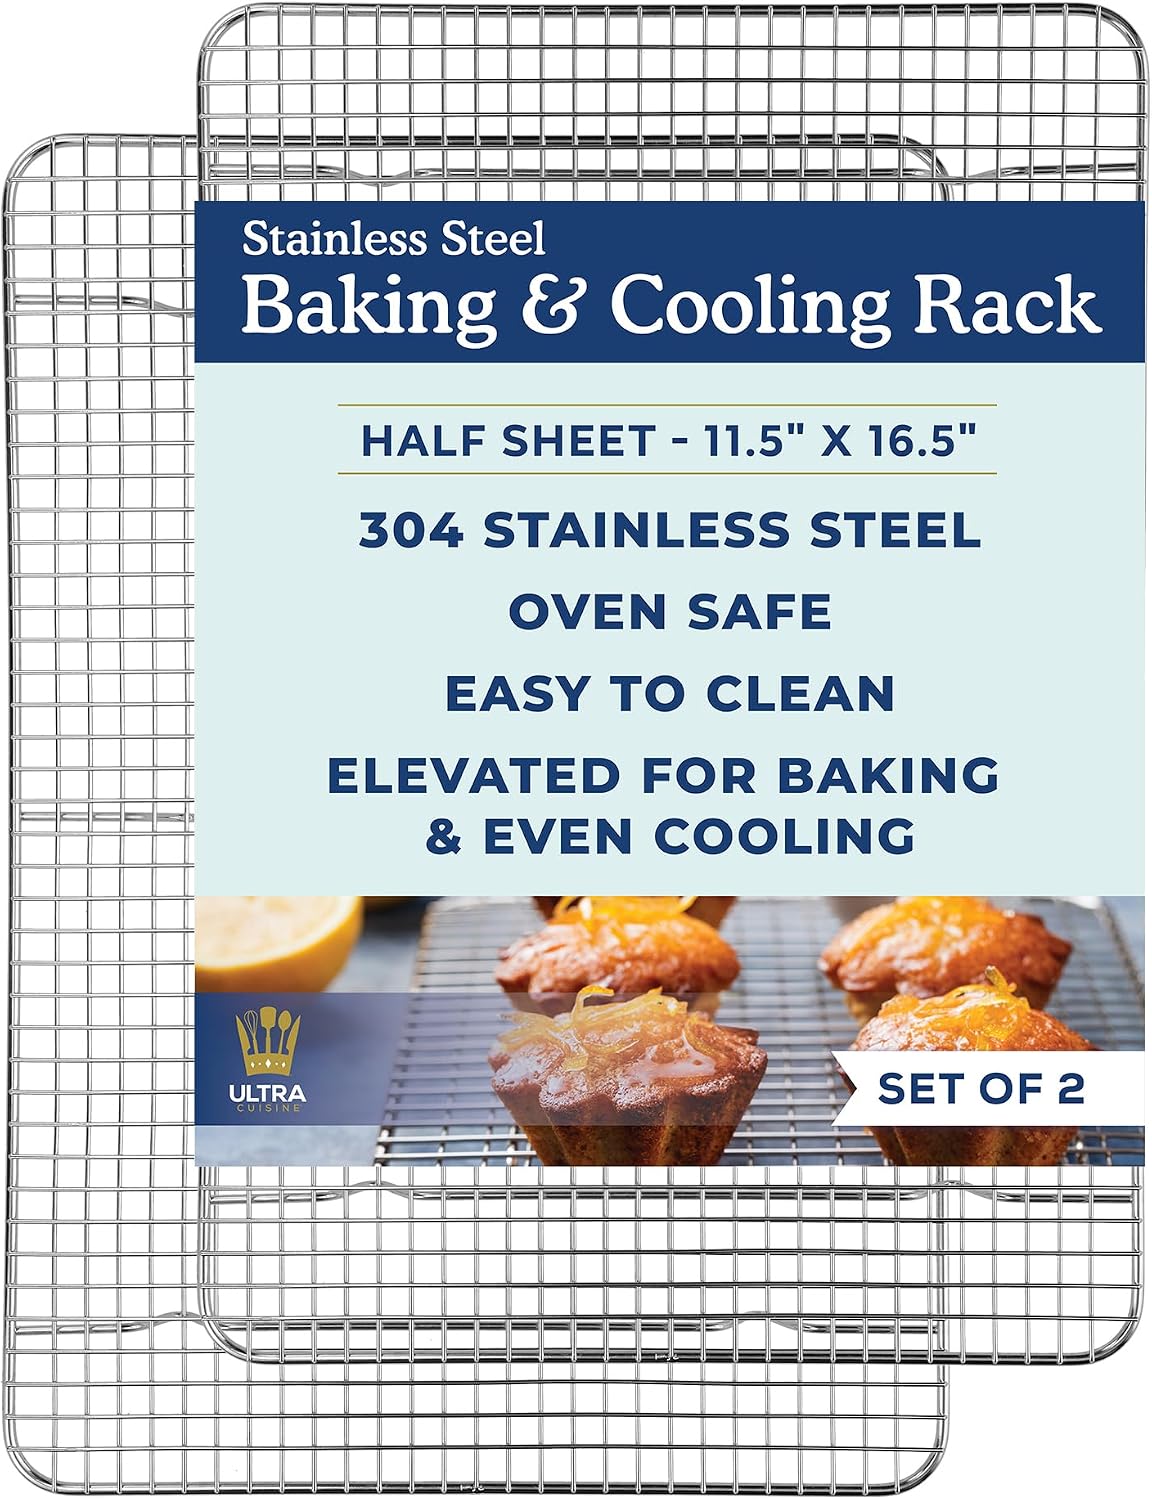 (paid link)
Stainless Steel Oven-Safe Wire Cooling & Roasting Rack
Elevates meat and baked goods for 360-degree hot air circulation and a crispy underside.